You’d be surprised but it isn’t hard to learn how to make bread in a bag with kids. It’s actually very simple! The whole process makes a great science experience and the end result is delicious.

It is school holidays at the moment and sometimes I’m pulling my hair trying to think of engaging activities to do with Possum (aged 6 years) and Boo (aged 3 years). Being winter too, it’s cold to go out and sometimes the time at home can be important for rest and relaxation.
A wonderful member in my ‘Activities for Kids’ Facebook group shared a picture of her making bread in a bad. What a great holiday activity! It seems quite hard to believe, but I’m here to tell you it actually works and I’m excited to share with you our experience. Check it out.
Recommended age: 2 years + (with lots of adult assistance)
Strict and active supervision required at all times.
Learn how to make bread in a bag with kids
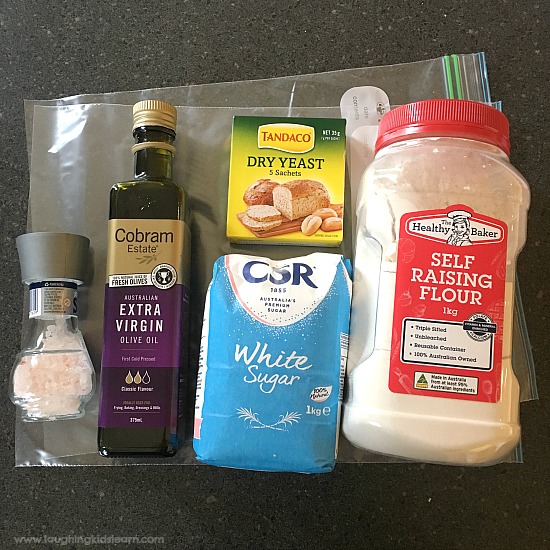
To make bread in a bag you will need –
- All purpose flour
- Granulated sugar
- Olive Oil
- Salt
- Warm water
- Zip lock bag and
- Dry yeast sachets
Simple ingredients makes a simple recipe
What I love about this recipe is that you’re likely to all those things in your kitchen pantry or can easily buy at your next shopping trip. If you don’t have any yeast on hand, but everything else, you might like to try this no yeast bread recipe I’ve shared previously.
Importance of cooking with kids
There is no doubt about it, cooking with children has so many benefits and if you’ve followed me for awhile you’ll know that I really love to cook with my kids. I even once gave them free rein over my kitchen – eek!
It’s clear to see that children who engage in cooking activities develop mathematical skills in measuring ingredients, improve fine and gross motor skills, are likely to develop healthy food habits than those who don’t have these opportunities.
Check out this fabulous instructional video by Your Home Based Mom.
Science in making break in a bag
As if turning a variety of ingredients, liquid and powdered, into a solid block of bread wasn’t amazing enough, Possum and Boo were fascinated by the active yeast.
When I explained to them that it was ‘alive’ they struggled to believe me, but when they saw how it caused the zip lock bag to expand and create bubbles in the bread mixture they were amazed.
You see, yeast just needs warmth (from the warm water) and sugar to become active and alive.
Recipe instructions on how to make bread in a bag with kids
- 3 C all purpose flour divided
- 3 Tbsp white sugar
- 1 .25 package rapid rise yeast (2 1/4 tsp)
- 1 C warm water
- 3 Tbsp olive oil or vegetable oil
- 1 1/2 tsp salt
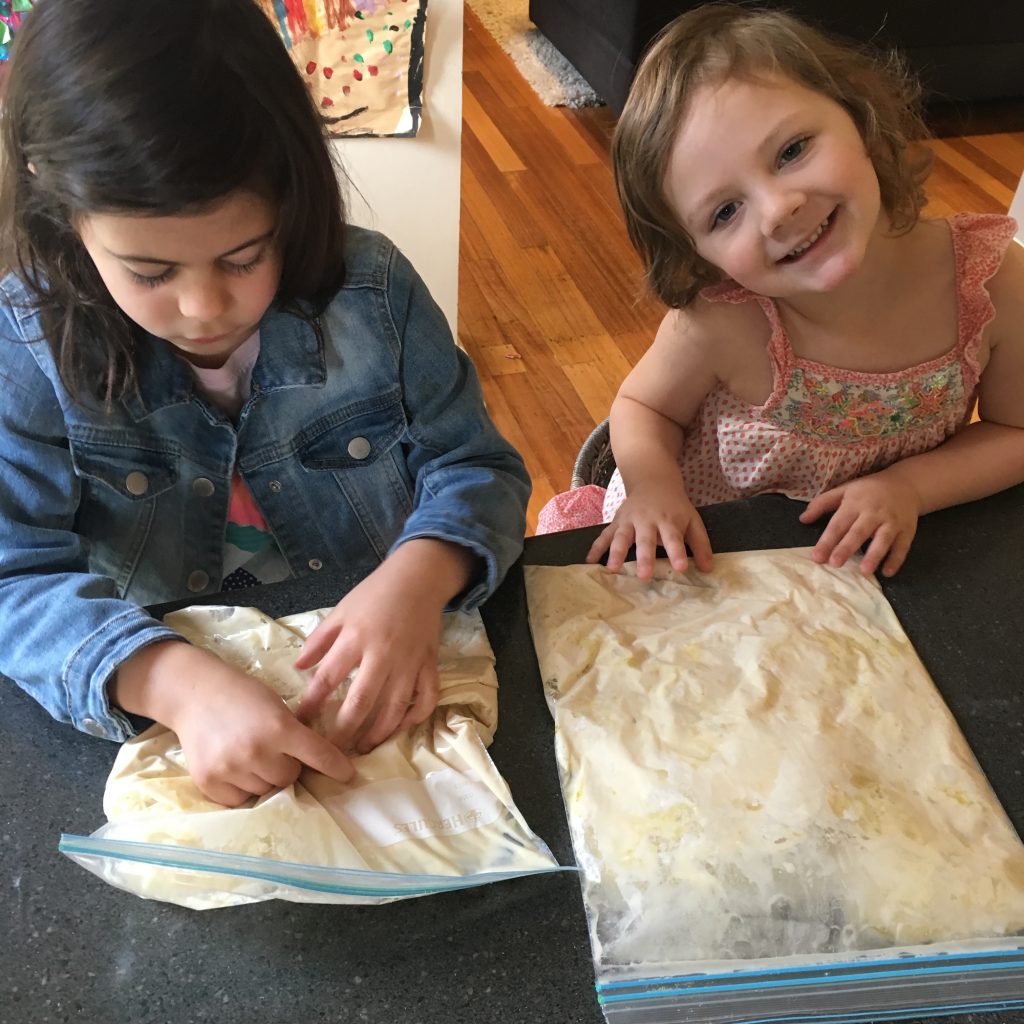
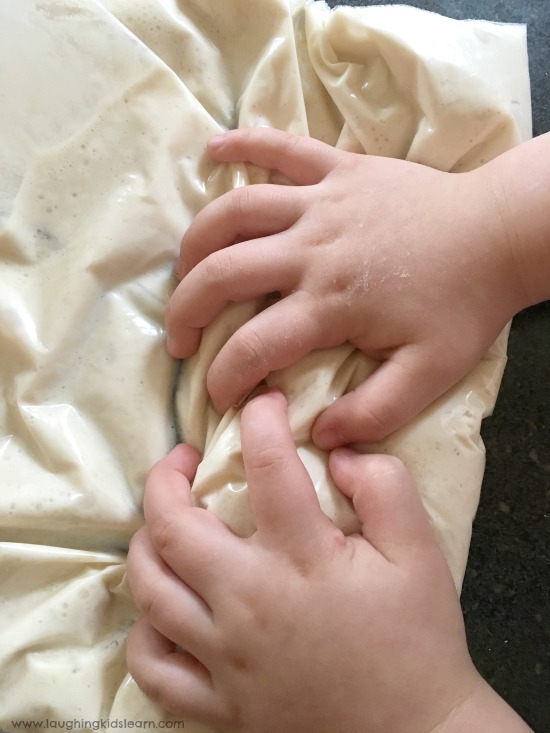
- In a resealable plastic bag place 1 cup flour, sugar and yeast and add in warm water.
- Squeeze air out of the bag and seal.
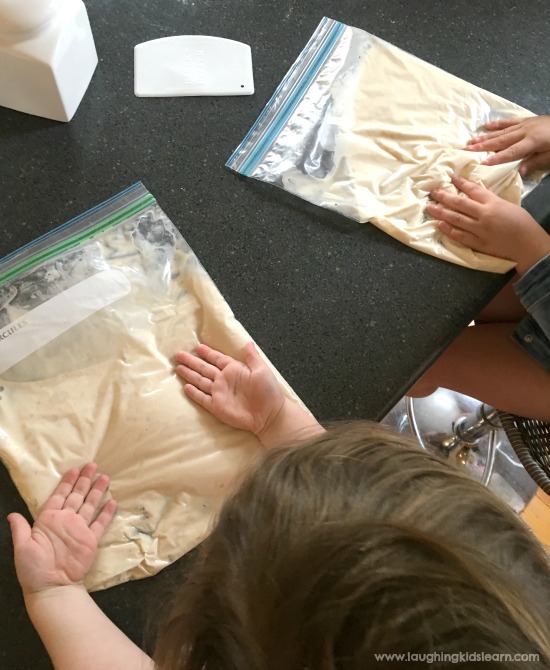
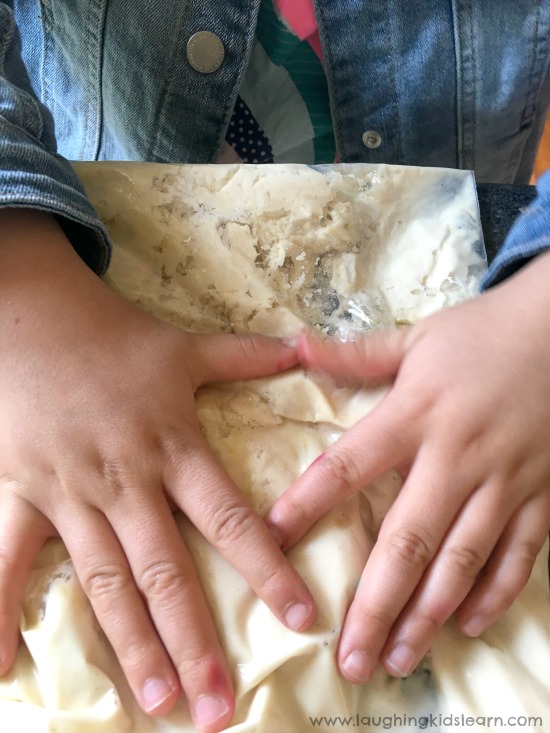
- Squish with your hands until well mixed together.
- Let it rest for 10 minutes at room temperature. Bubbles will form.
- Open bag and put in 1 C of flour, oil and salt.
- Seal bag again and squish until well blended.
- Add last cup of flour and continue mixing in the same manner until well blended.
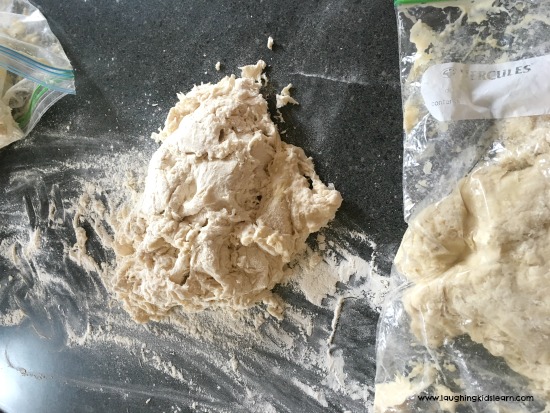
- Remove dough from bag and put onto a lightly floured surface.
- Knead for 5-10 minutes or until smooth.
- Add dough into a greasedmini loaf pan.
- Cover with a towel and allow to rise for about 30 minutes.
- Bake in a 375 degree oven for 25-30 minutes or until bread is golden brown.
- Feel free to mix in 2 tbsp of dried mixed herbs for a tasty herb loaf.
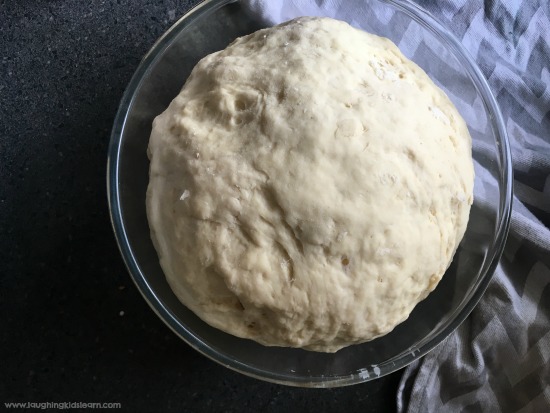
Just look at that dough! It more than doubled it size!
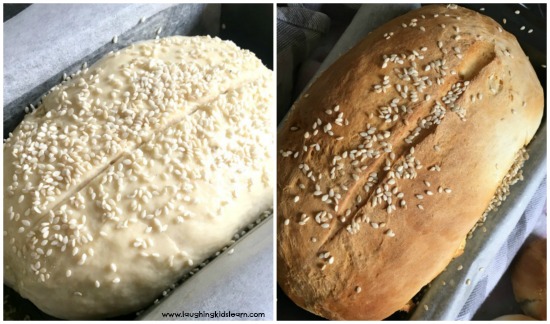
Here is a before and after shot of our bread. I added some sesame seeds to the top of the raw dough and cut a line down the middle to add interest.
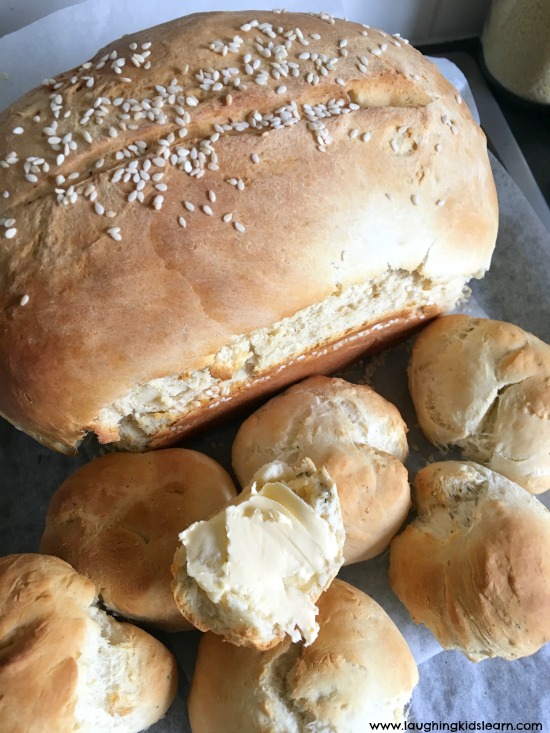
We ended up having a lot more bread dough than what we needed for one loaf, so the girls and I made some small dinner rolls and kneaded in some mixed herbs. So delicious and extra yummy with lashings of butter.
So whilst making bread with your child might seem like a challenging task to do with kids, it’s most certainly not. We had lots of fun making it and the mess was contained within the bag. Genius. I hope you can find time to make your own delicious bread and eat it together too.
Have you made bread in a bag before?
If you like this idea then try –


Summer is a great time to spend some time in the kitchen with your kids. Hopefully your schedules are a little slower and you can take advantage of that by spending some fun time in the kitchen.
Totally agree with your Addy. Thanks for commenting.
My children love to make pastries. Thanks for the detailed recipe!
This is a great one to make with kids. Thanks for your comment Jessica. 🙂
In what degrees and minutes for the bread to bake perfect like that?
Not much of a baker. I wanted to try it out before we did it at church. Picture of ingredients shows self-riding flour- ingredient list says all purpose. Does it matter which one I use?
I believe they are basically the same thing Bridget. In Australia we call it self raising flour. It rises. Please correct me if I’m wrong with all purpose.
In the UK SR flour is different to All purpose which we call plain flour.
I teach children under 5 in New Zealand and I love cooking with them. This looks lie a perfect idea to do. Thank you.