Here are the instructions on how to make a string bowl with kids. It’s a great craft activity that is great for developing fine motor skills, especially in older children.
I find it really rewarding to transform simple items into something useful. My husband has almost stopped rolling his eyes at the moments his found me digging around in the recycling bin or reminding him (for the tenth time) not to throw out something I have in mind for a game or activity. I think almost everything can be recycled and it’s important that we do it for ourselves and our environment.
So I’d misplaced my car keys for the billionth time and it became clear to me that I didn’t have system of where to place my keys as I entered the house. With a ridiculous amount of string (twine) housed in one of our draws I decided to use it to make little bowls that would be perfect for Possum’s little treasures….and my keys! LOL
Suggested Age – 7 years +
To make a string bowl you will need –
- String
- Craft glue
- Paint brush
- Scissors
- Cling wrap
- Bowl to act as a mold
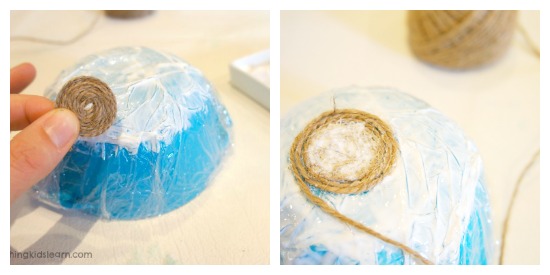
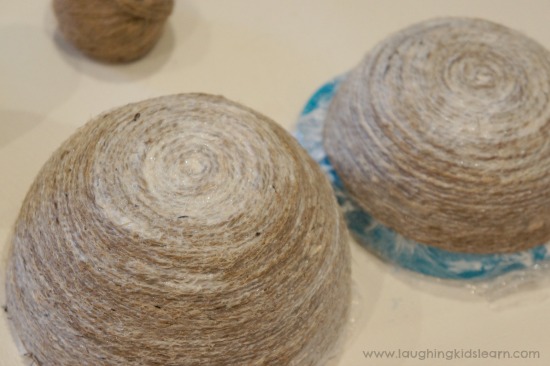
Begin by covering your existing bowl with 3 layers of cling wrap and painting lots of glue over the top layer. Cut half a meter of string and begin winding it around your fingers to make a flat disk (as shown above). Place it on top and using the end a new piece of string begin winding it around the disc.
Continue the process of winding the string around the mold, keeping each layer close and alongside the string already in place. After a few times around the mold be sure to add lots of craft glue to keep it in place (see above).
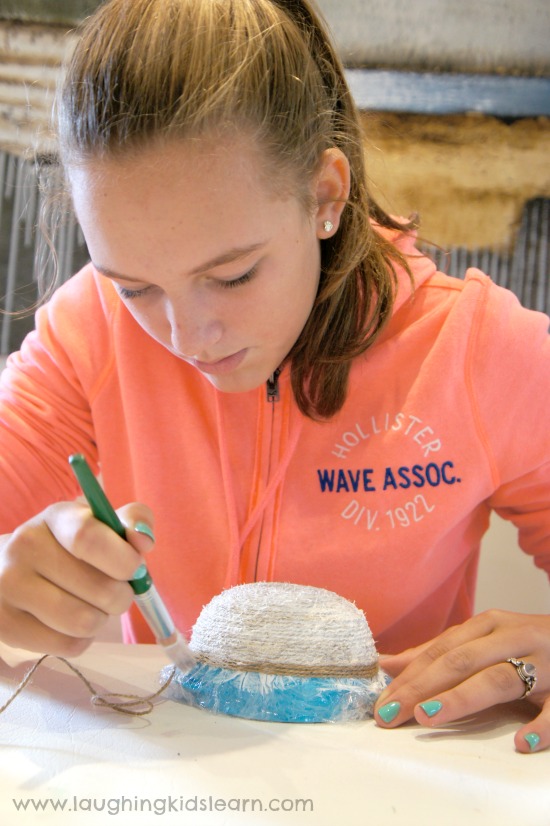
Here is my gorgeous niece (aged 13) making a string bowl.
It’s a very good idea not to wind the string too close to the edge of the existing bowl as it will be difficult to remove once it’s dried, keep at least 2cm from the lip of the mold. Once you have wound your string and created your bowl, snip the end and cover the whole bowl with lots more glue. Glue, glue, glue!!
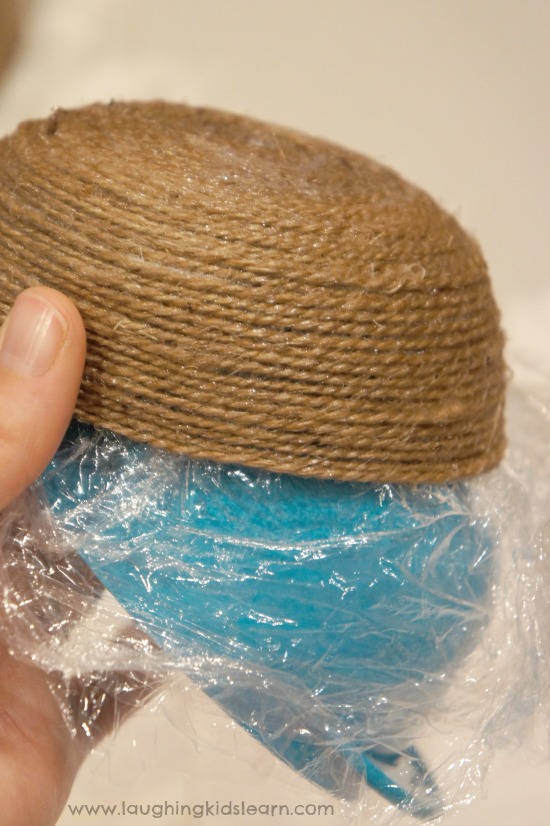
It’s a good idea to wait a few days for it to dry completely. Once you feel it is ready, carefully pull the string bowl away from the existing bowl. The layers of cling wrap will act as a skin and help with removing it. Of course the cling wrap that is closest to the string will remain (because of all the glue) and help make it stronger.
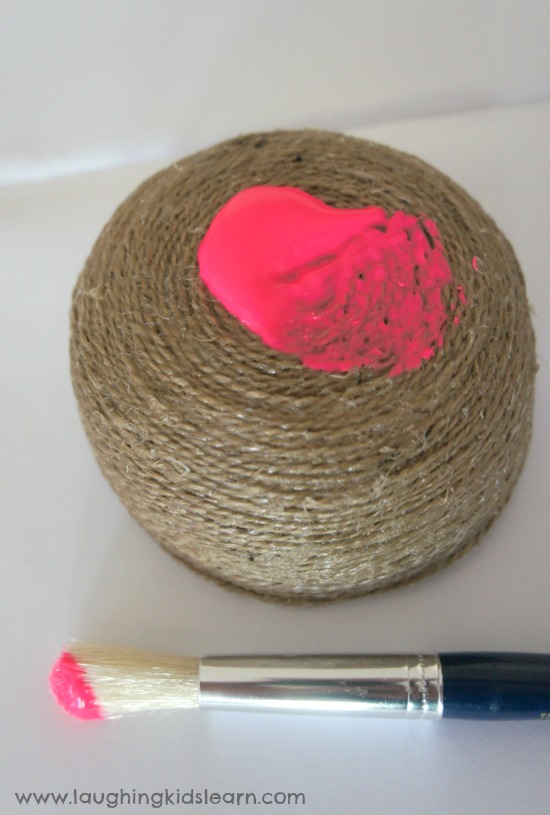
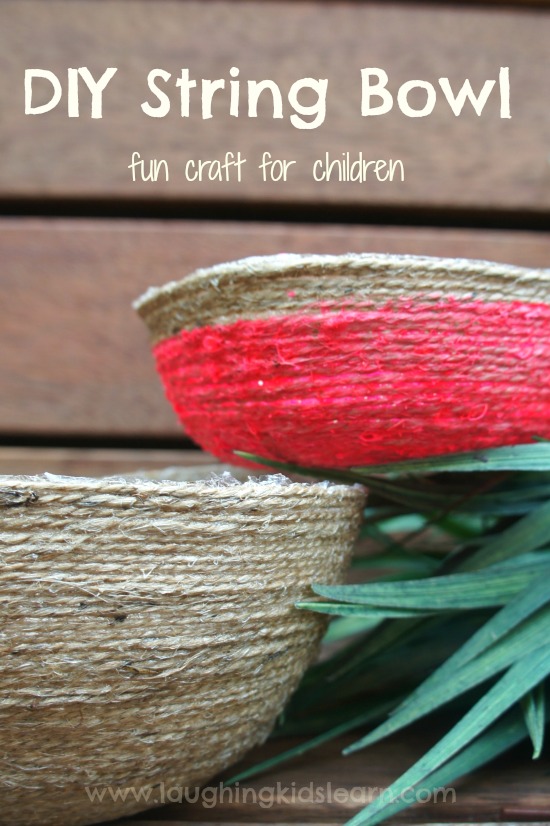
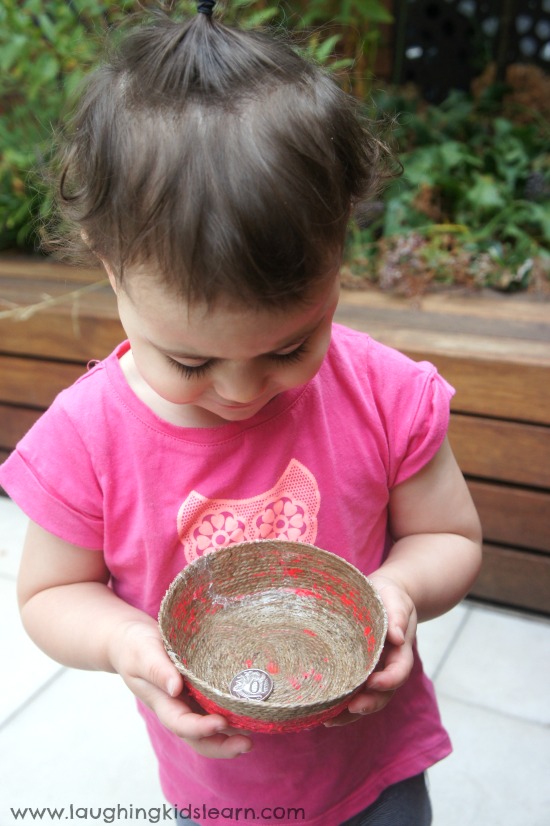
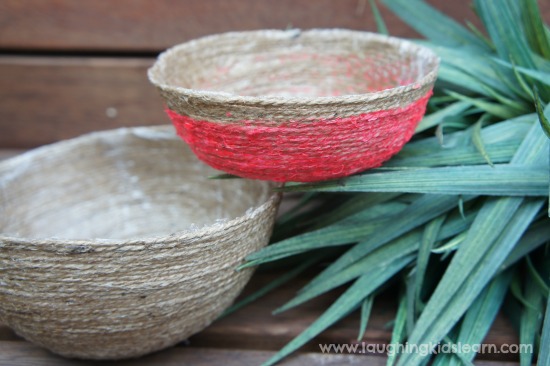
I recommend children over the age of 7 having a go at this activity, younger may find this approach too difficult, however, painting a string bowl is open to all ages. This bowl was painted using fluro pink!
Once the paint has dried it is completely ready to be used as whatever you wish.
Possum found 10 cents and proudly walked around the house carrying it in her basket. She has since enjoyed finding odd LEGO pieces and lost socks from under the couch and adding it to her bowl. I guess everyone sees treasures differently. LOL
For me, one of these little baskets is going to hold my car keys. I’ll be much more organised and know where to look for them rather than getting ready to go and frantically racing about the house for 15 minutes trying to find them. It’s wonderful something as simple as string can be used to create something so helpful.
What would you put in a string bowl?
Here are some more ideas you might like to try
Oh my lot would love making these, and they’d make great gifts too!
You have some amazing ideas! My kids are too young for this yet however I think I will make some for their nature table. That way they can fill them with their special findings. Thanks.
Oh that sounds absolutely delightful Krystal! 🙂
Knowing our house you would find anything and everything in something like this. Thanks for sharing the idea, i love it. Not only for the little ones either, I can’t wait to have a go.
Thank you so kindly for your comment Sue! I’m tempted to try out an easier version that little Possum could do. Stay tuned and I hope you have a beautiful day.
Love this activity. We made them yesterday and they turned out great. We followed the instructions and they were really accurate and helpful. Thanks so much – we can’t wait to make them again.
YAY! Thanks Sue. I always love to hear that kind of feedback. Feel free to send me an email of your finished bowls – laughingkidslearn@gmail.com
I WILL do this for sure. We are stuck inside hiding from some major arabian heat this summer and my kindergartener is getting so bored and its effecting us all lol.
I was thinking…usually glues wont stick to metal unless you use a specific glue, so perhaps a metal bowl wouldnt need the cling wrap and have a natural fiber look on the inside then? I happened upon your site and you have some unique craft ideas – thank you so much! Also I like in some posts you clarify whats what for those of us around the world on the www. Just lovely!
Can you use any craft glue
Hi Wendy. I’ve not tried all glues, but I think a PVA type glue would be best because it’s not as tacky when you work with it.
could mod podge work instead of glue?
Absolutely!!!