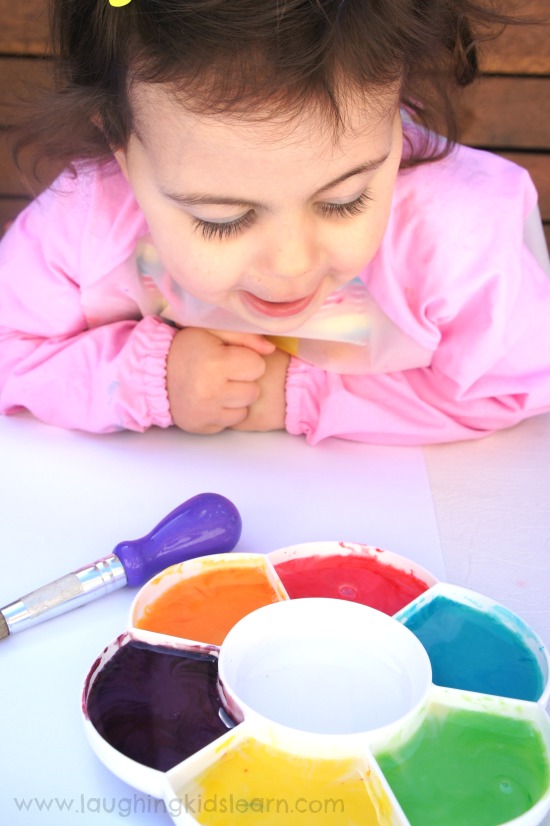
Here is a homemade edible finger paint recipe using 2 ingredients. Your children will love the silky sheen this paint leaves behind and the fact that it’s edible adds to the fun of finger painting with it.

My little Possum (aged 2.5 years) loves to paint and spreading lots of colour over a blank page makes her day. This homemade edible finger paint recipe was absolutely perfect for her and the bonus for me was that it only required 2 super simple pantry ingredients! The activity itself gave her a great lesson in learning about colours, mixing and enjoying the sensory experience of finger painting and tasting it.
Recommended age: 2.5 years
(Active supervision is required on all my activities)
Homemade edible finger paint recipe using 2 ingredients
You will need –
- 3 tablespoons condensed milk
- 1 drop food colouring
The above recipe is what you will need for one colour. I decided to offer a few various colours for Possum to paint with and so I continually multiplied the recipe for each of the above colours. Of course you may choose to deepen the colour by adding more food colouring, however, I wouldn’t recommend it as it may cause some staining to the skin. The above recipe did not cause us any problems with staining and was easy to paint with.
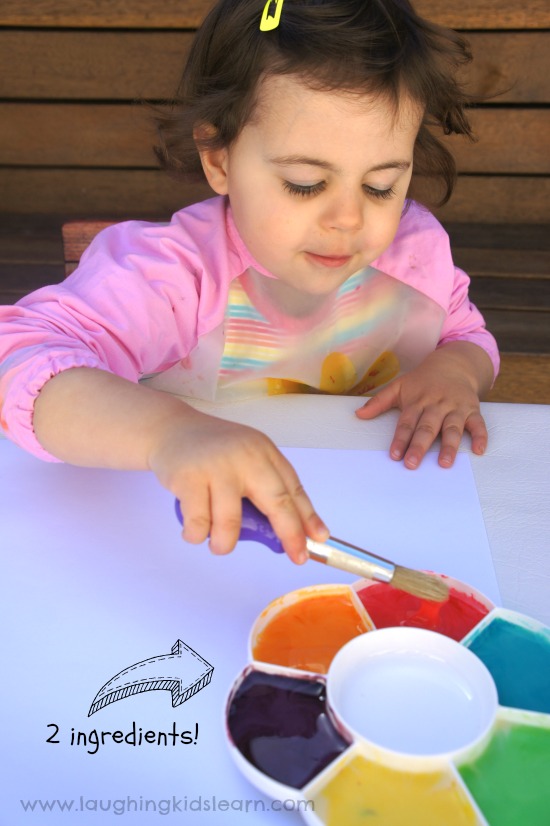
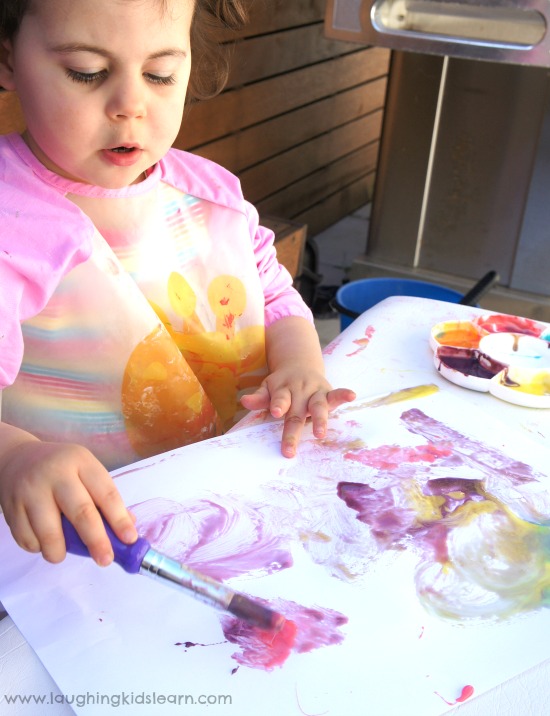
It’s hard to believe that you can create a paint with only 2 ingredients! I didn’t tell Possum initially that it was an edible paint and offered her a paint brush to begin with. I knew that if I did tell her that she could taste it, the sweetness of the condensed milk would distract her from the painting experience and she’d just want to eat it. LOL

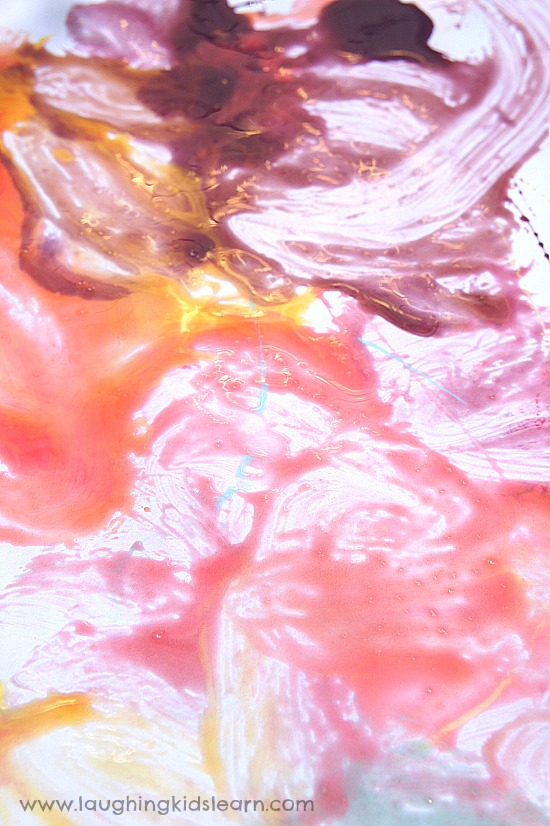
Honestly, the colours are so vibrant on white paper.
It is also great for children to see how colours can mix and change when blended together.
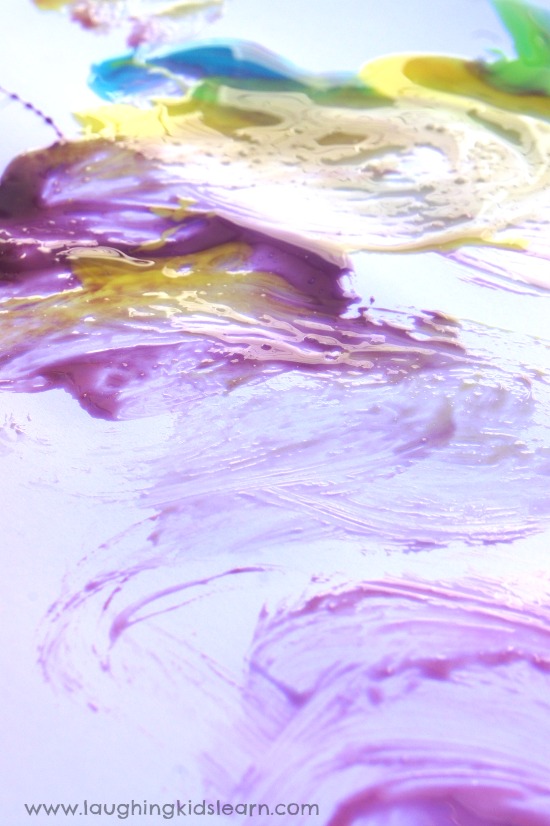
You won’t believe the amazing shine this paint creates!
This painting experience is more about the process than any importance given to the final product your child achieves. Unfortunately the paint will take some time to dry completely and, being a food based recipe, it won’t last or be suitable for long term displaying.
Homemade edible finger paint recipe
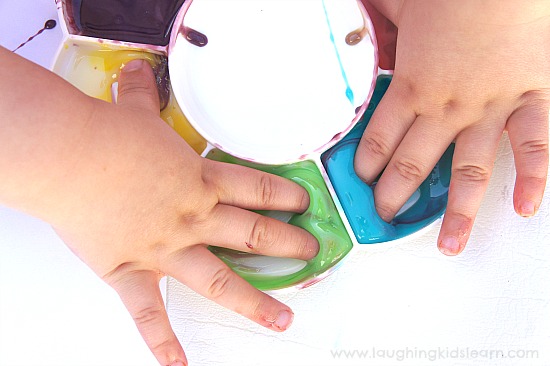
Possum was a little unsure what to do when I removed her painting brush. I asked if she knew of another way she could paint and it didn’t take long before he dug her fingers into the coloured paint and began spreading it across the page. Of course it’s a good idea to explain to children that paint isn’t something that is typically consumed, this is a special type of paint that is unlike any other.
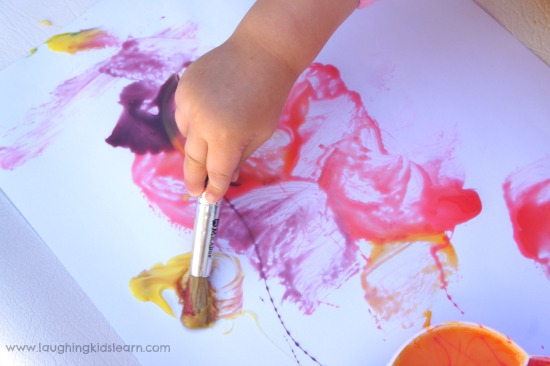
Learning about colours
The mixture of colours was a great talking point. It was wonderful that Possum was able to name the colours that she could see and she was definitely enjoying the taste sensation achieved from the experience. Possum was able to name most of the colours that she could see.
Paint you can taste!
I’m not usually one to encourage children to eat paint because even the non-toxic kind can put me a little nervous. I had to clearly explain to Possum that this was a very special kind of paint that I had made especially for her and that it was safe for her to taste. Obviously if your child has a dairy allergy or intolerance then it isn’t within their best interest to use this recipe.
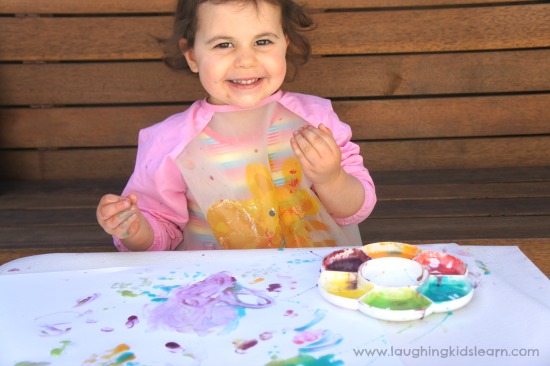
When I could stop her from eating the homemade edible finger paint recipe, Possum continued to enjoy using it on the paper. What an amazing sensory experience I was able to give her with this activity. Hopefully you are able to find an opportunity to give this a go, I highly recommend it. Feel free to also visit this post by ‘ECE made easy’ which this idea was inspired from.
How would your child enjoy this homemade edible finger paint recipe?
Be sure to subscribe and follow me on Facebook, Pinterest and Google+
Follow Kate @ LaughingKidsLearn’s board Laughing Kids Learn on Pinterest.
Now that is some tasty paint!!
What a gorgeous idea and so fun for littlies! Your photos are always beautiful. x
What’s the colour like when it dries? I bet my kids would love this, they already see painting as a very sensory experience, so to add taste they would love it! Could even add scent really easily too 🙂 And we often have some condensed milk over from recipes, so next time we do we will try this out!
Thanks Kelly! I love your idea of adding a scent to the paint too. It took quite awhile for the condensed milk to dry completely and seemed to soak the paper in some areas. It also dried a few shades lighter than what you see the paint is pictured. 🙂
OMG how adorable is that picture of your little one with all her finger in mouth! I must admit, the colours of that paint (and knowing it was edible) made me was to dip my finger in and put it in my mouth.
Honestly Penny, it was so hard trying to get her to paint after she had tasted it. LOL
Oooh YUM! I’d eat more than I’d paint! Love the concept!
It did get like that once she had tried it Rachel. LOL
oooh this looks like so much fun! Though I am not sure if I would do more painting or eating!
Ah! She’s gorgeous! I wish my mum had made this paint for me when I was a kid 🙂
I love this! Thank you for sharing! This is perfect for my toddler who loves to get into trouble and tries to eat everything!
That’s so wonderful that you have popped by and found something helpful. Thanks so kindly for your message. 🙂
Hi, I know this is an older post of yours but I just came across it. I’m wondering if I could use condensed coconut milk and still get the same effect?
Also, would the condensed coconut milk spoil over time, or could I keep the original artwork if I sealed it in clear wax?
One last question…what paper did you use for this paint? I noticed regular fingerpainting paper gets really soggy with homemade paints. It’s impossible to make any hand/foot print marks with soggy paper.
Hi JM. So lovely of you to contact me! Hope you’re well.
You could absolutely use condensed coconut milk and I would be confident that it would give the same effect JM. Because it is a milk I don’t think it’s really going to last very long (unfortunately). I’ve not used clear wax before so you could try your idea, but I really don’t feel the milk would be good sealed in anyway.
I used just reguarly printer paper for this activity and it did go a little soggy. For us it was more about the process of painting that the final product. If you were wanting to focus on the final product I’d look at using stronger, thicker paper like cartridge paper or cardboard. Worth a try. 🙂
Thank you kindly.