There is such a wide range of sensory bottles or calming jars available to make at home. Following the success of my previous Easter sensory bottle, I thought I’d make another one that doesn’t include any liquid. Here is my DIY Easter Sensory Bottle that is easy to make to home and your toddler will enjoy exploring.
As we step into the vibrant season of Easter, it’s the perfect time to infuse some creativity and sensory fun into your child’s playtime. Sensory bottles are a popular choice, offering a fascinating blend of entertainment and developmental benefits for our little ones.
Recommended age: 1 year +
Strict and active supervision required at all times.
How to make your own DIY Easter sensory bottle
If you know my blog, you know that I love making my own sensory bottles, sometimes known as calming bottles or jars. As an alternative idea, I decided to craft a unique DIY Easter sensory bottle that doesn’t involve liquids. This dry version, using simple materials, many that can be found around the house.
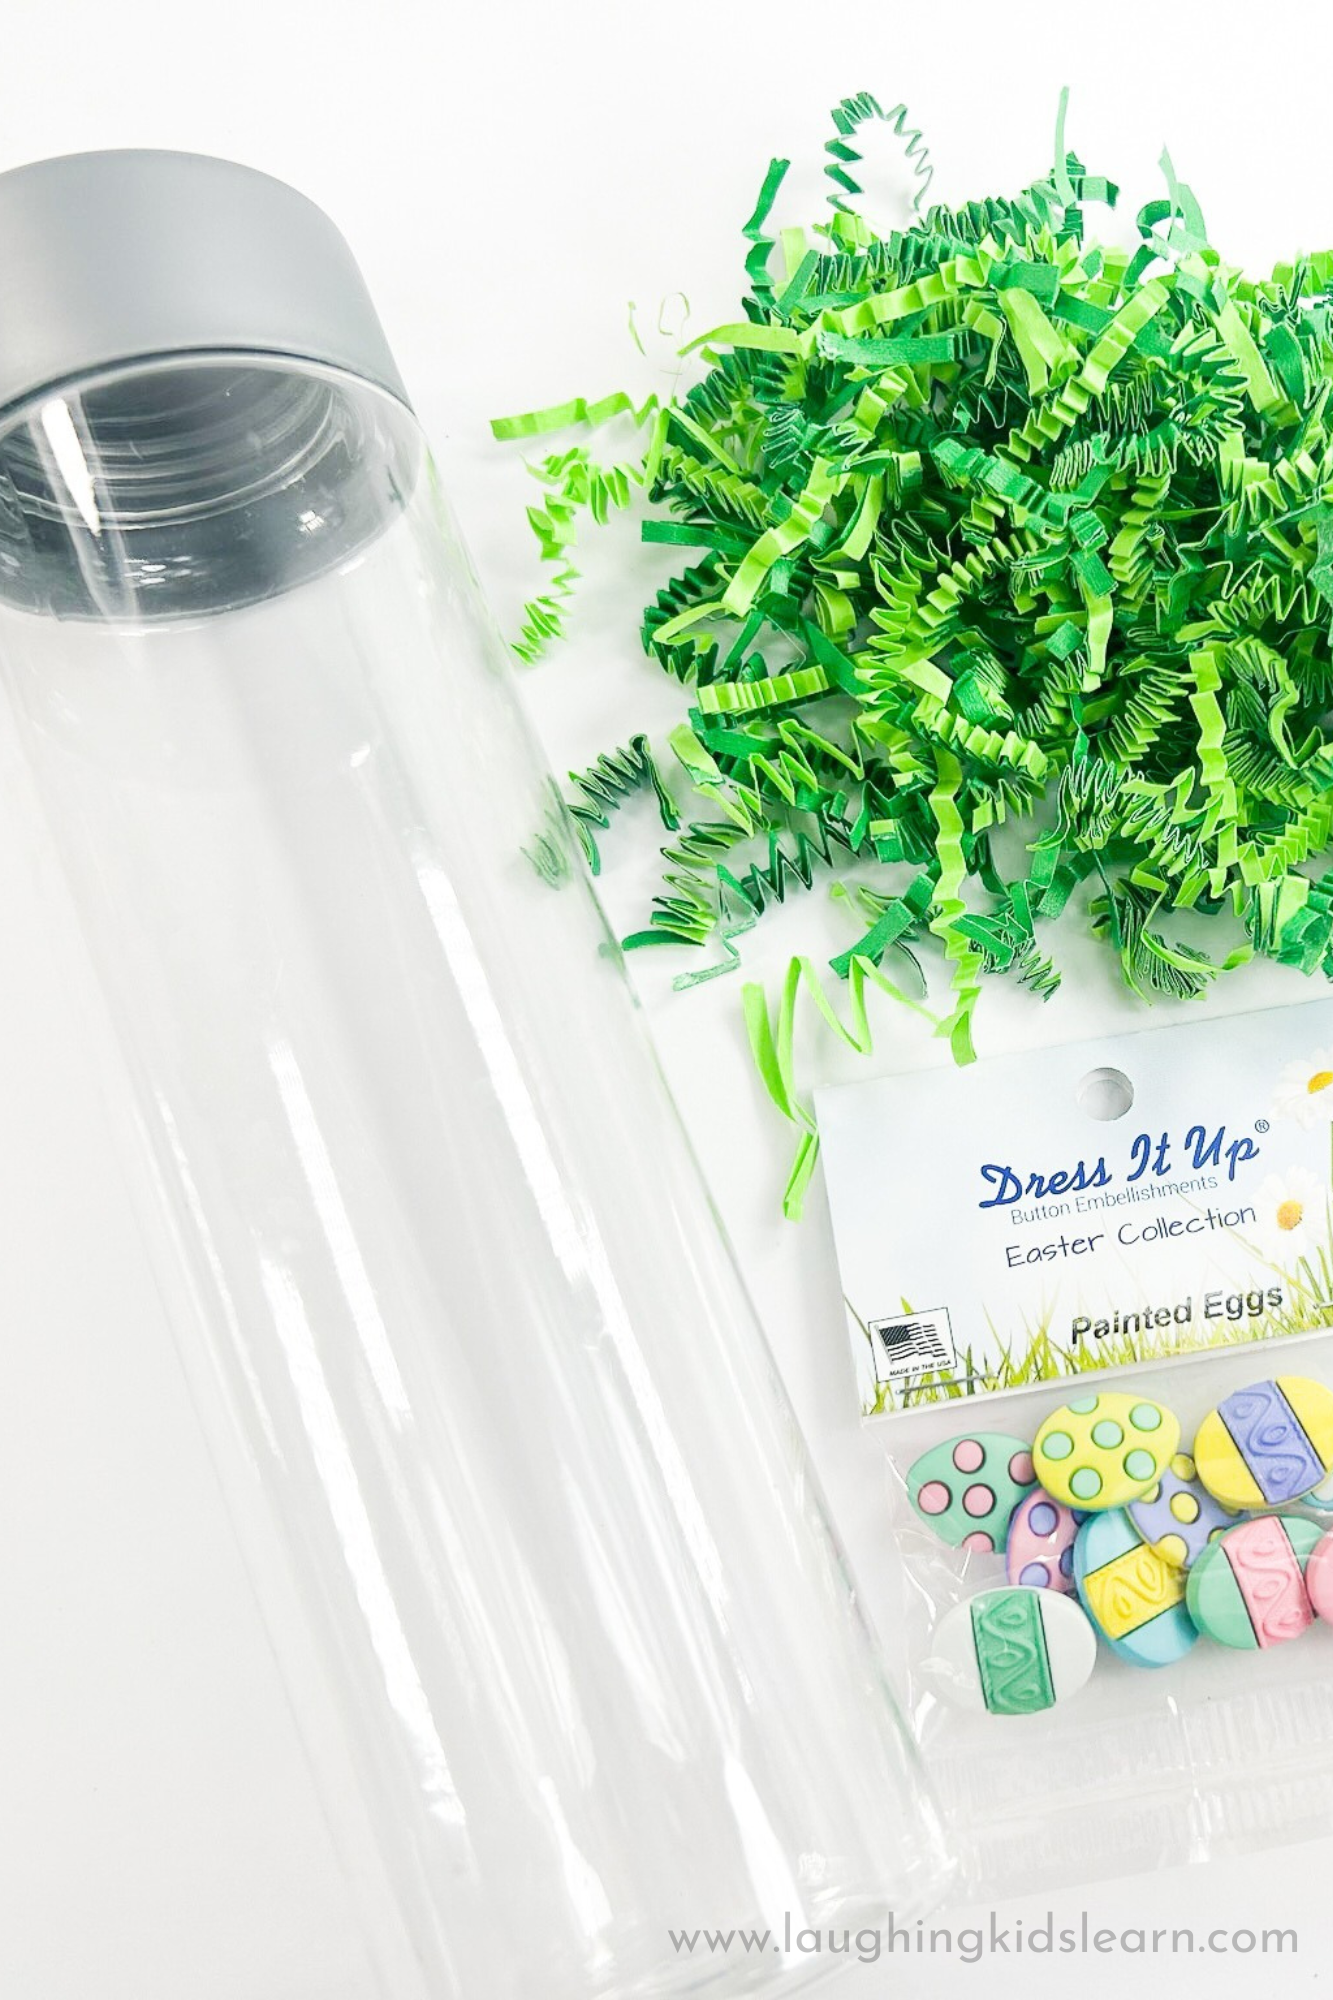
Materials needed –
For this dry Easter sensory bottle using materials, you’ll need –
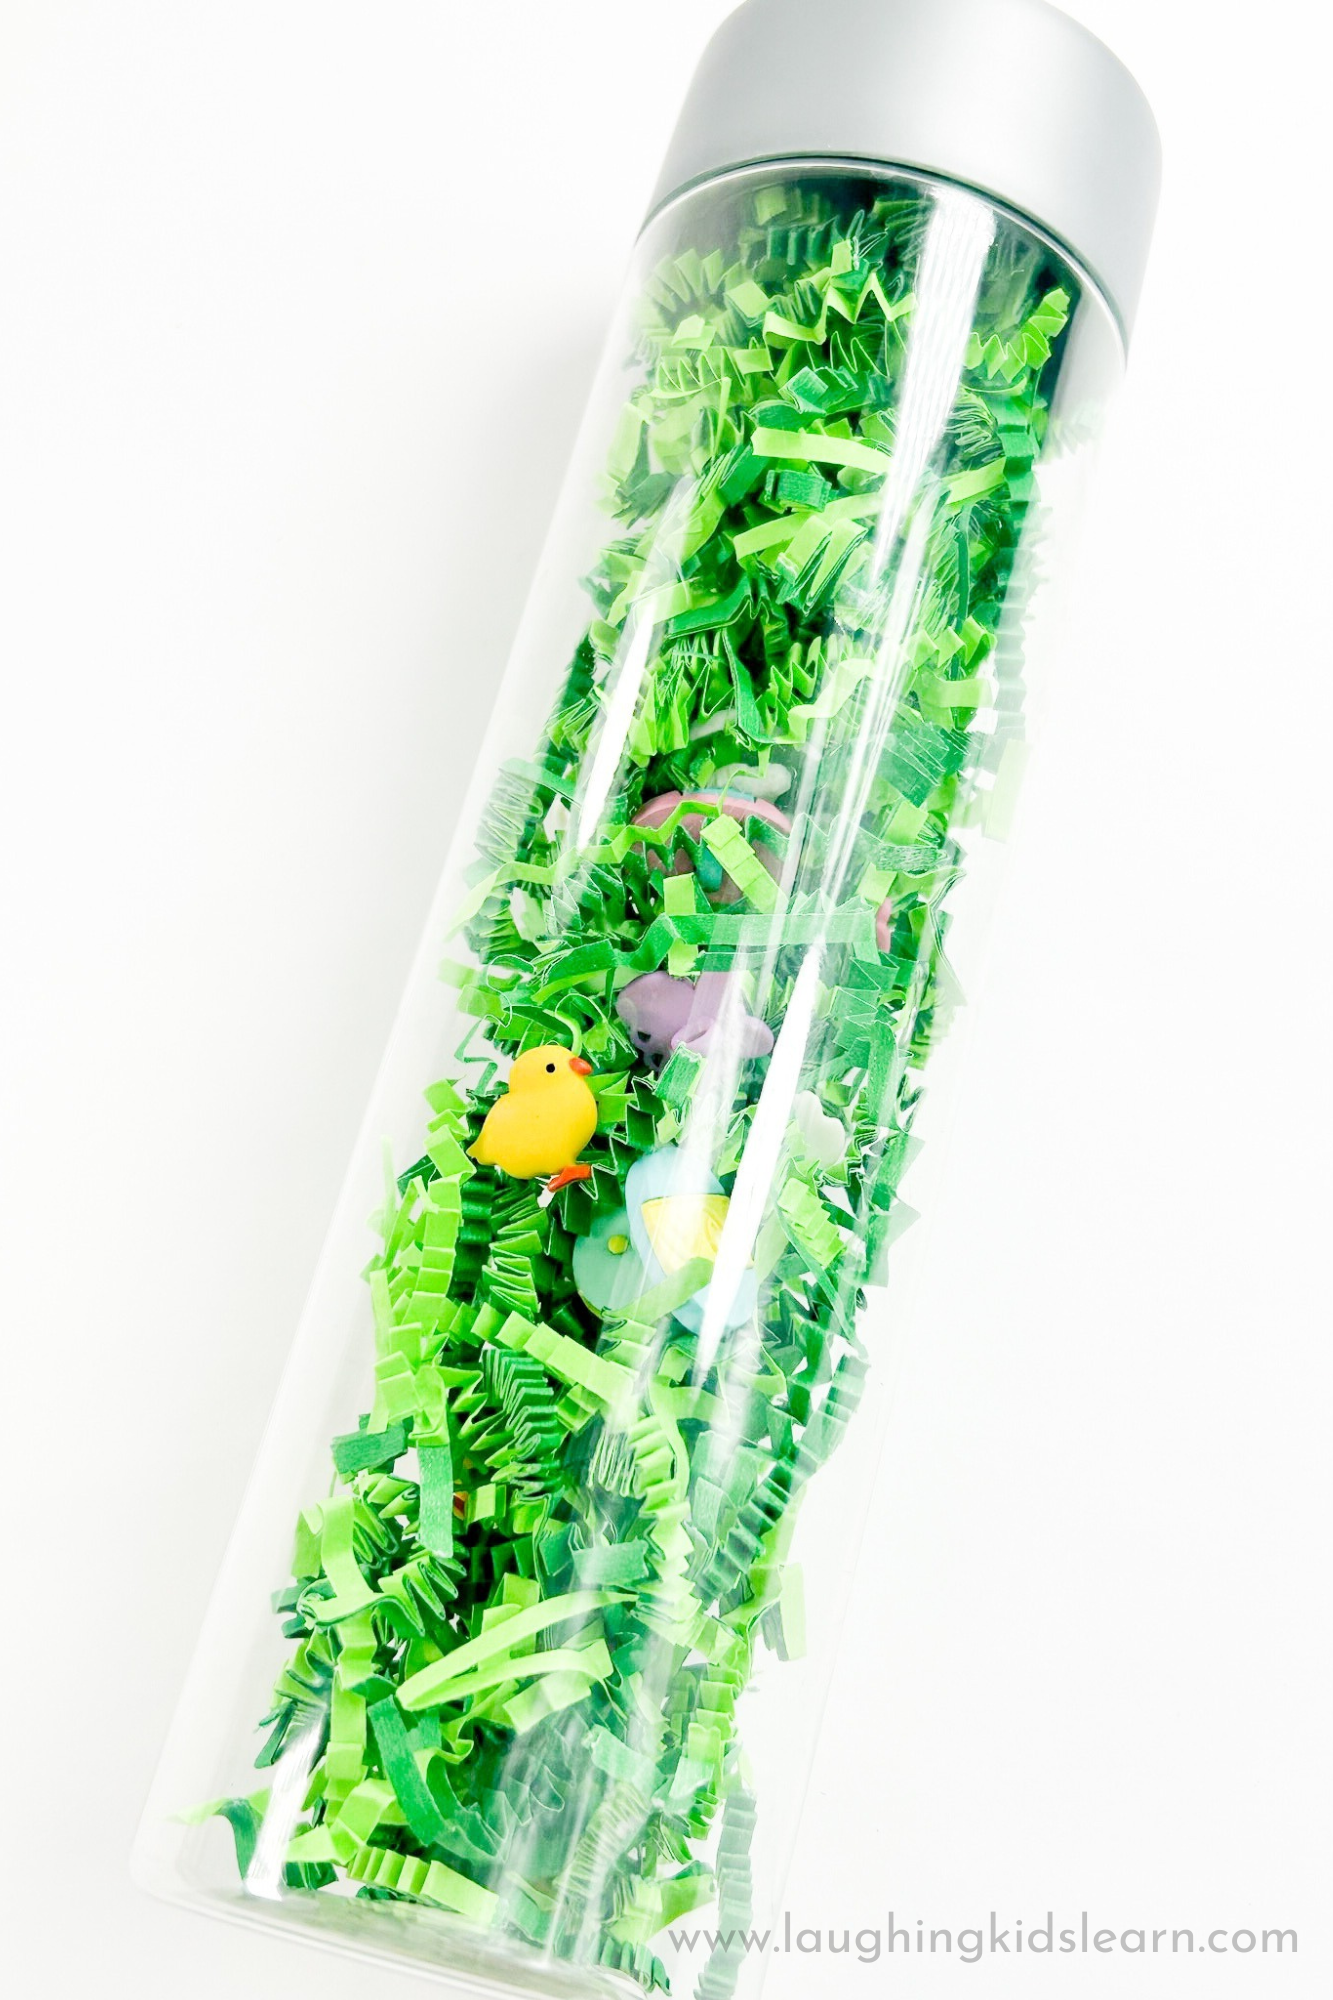
- A clear plastic bottle with a secure lid
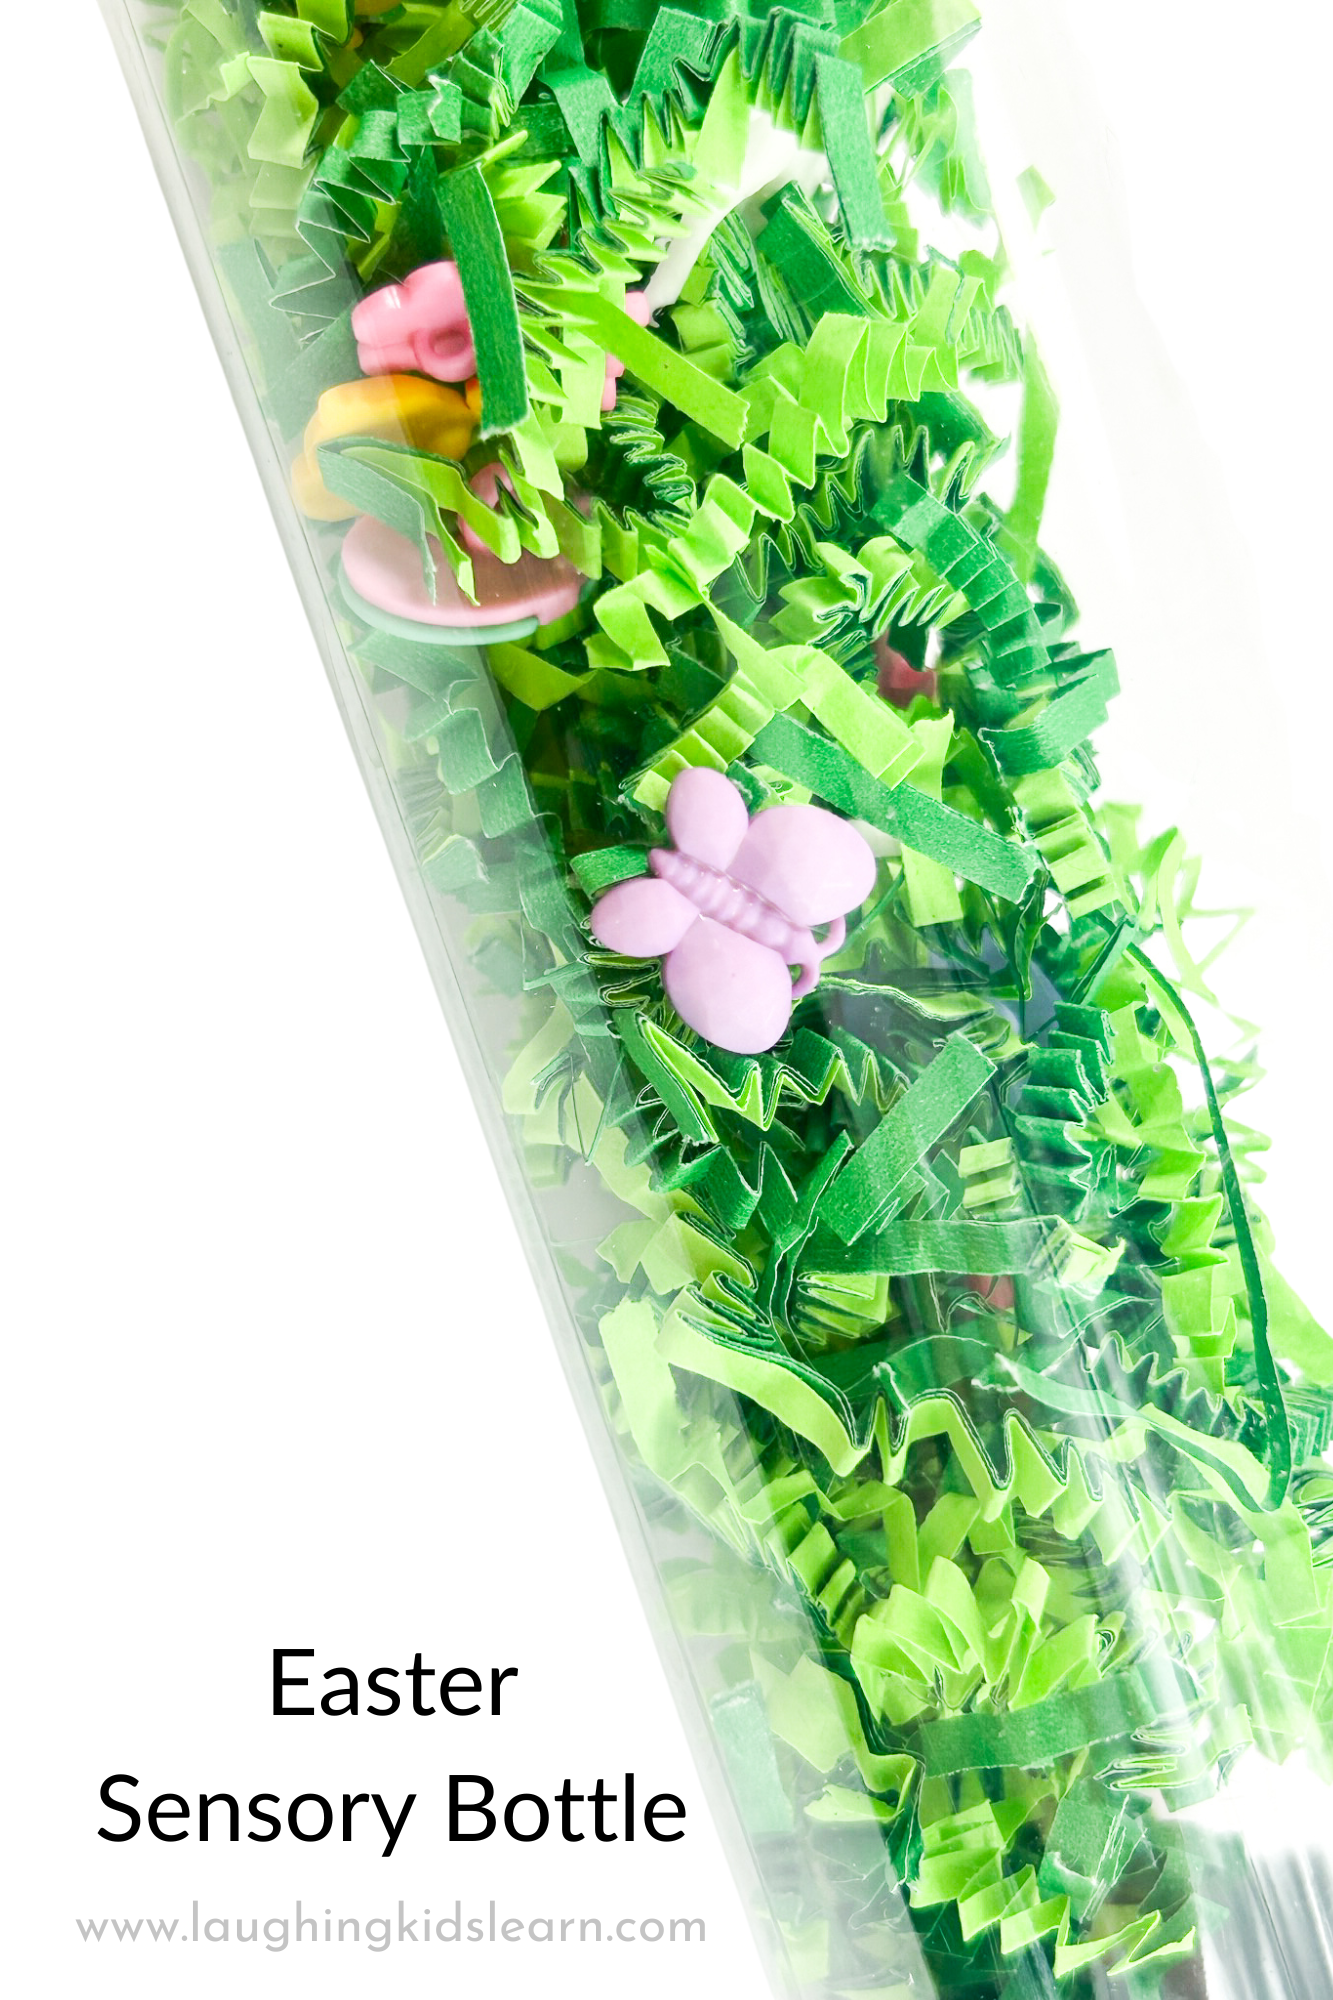
- Strips of green paper (to mimic grass)
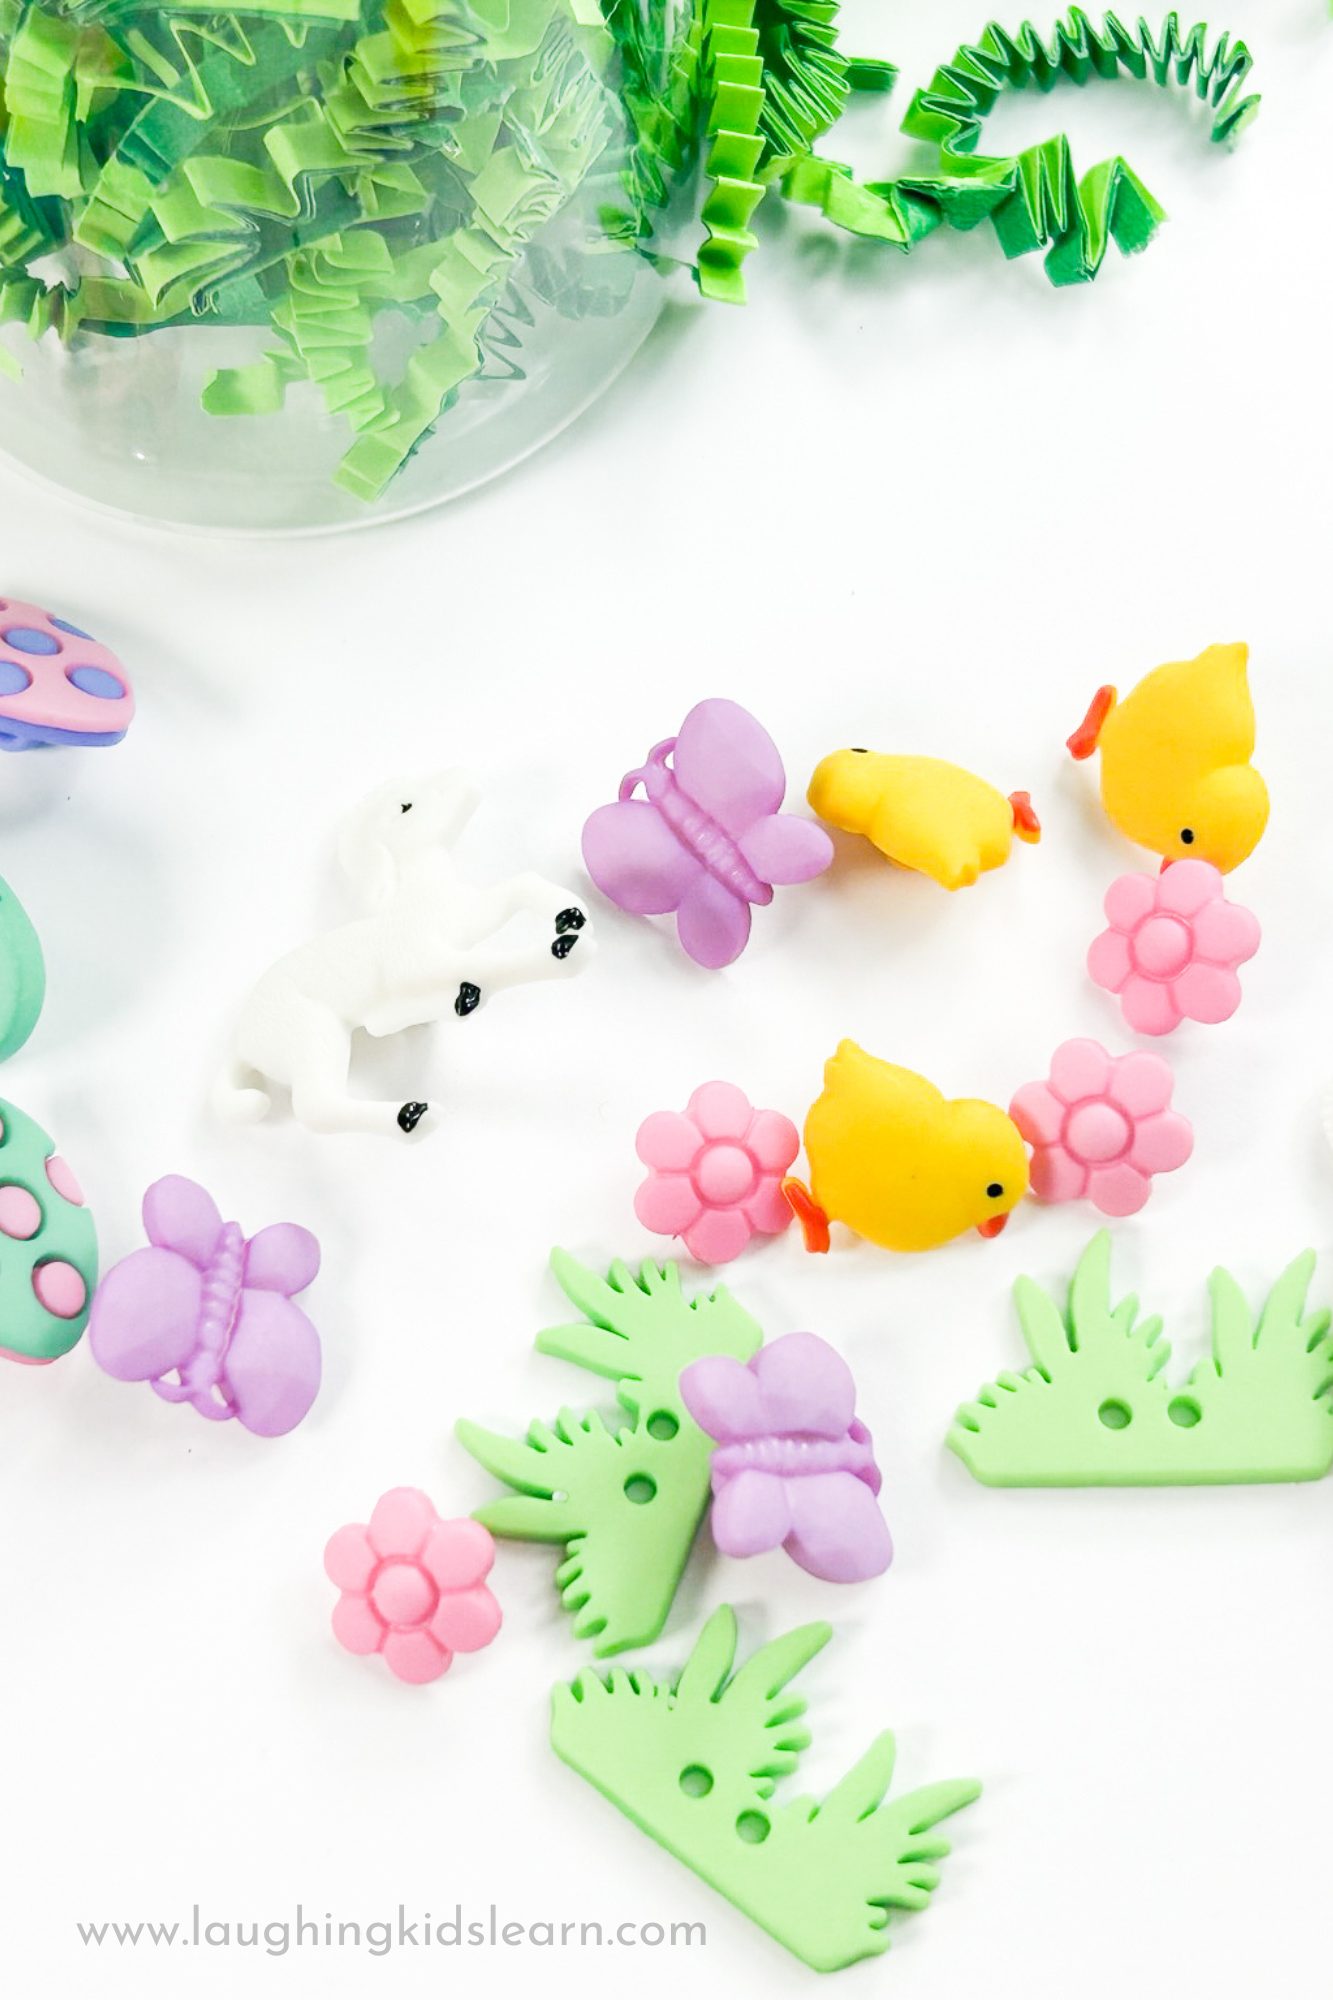
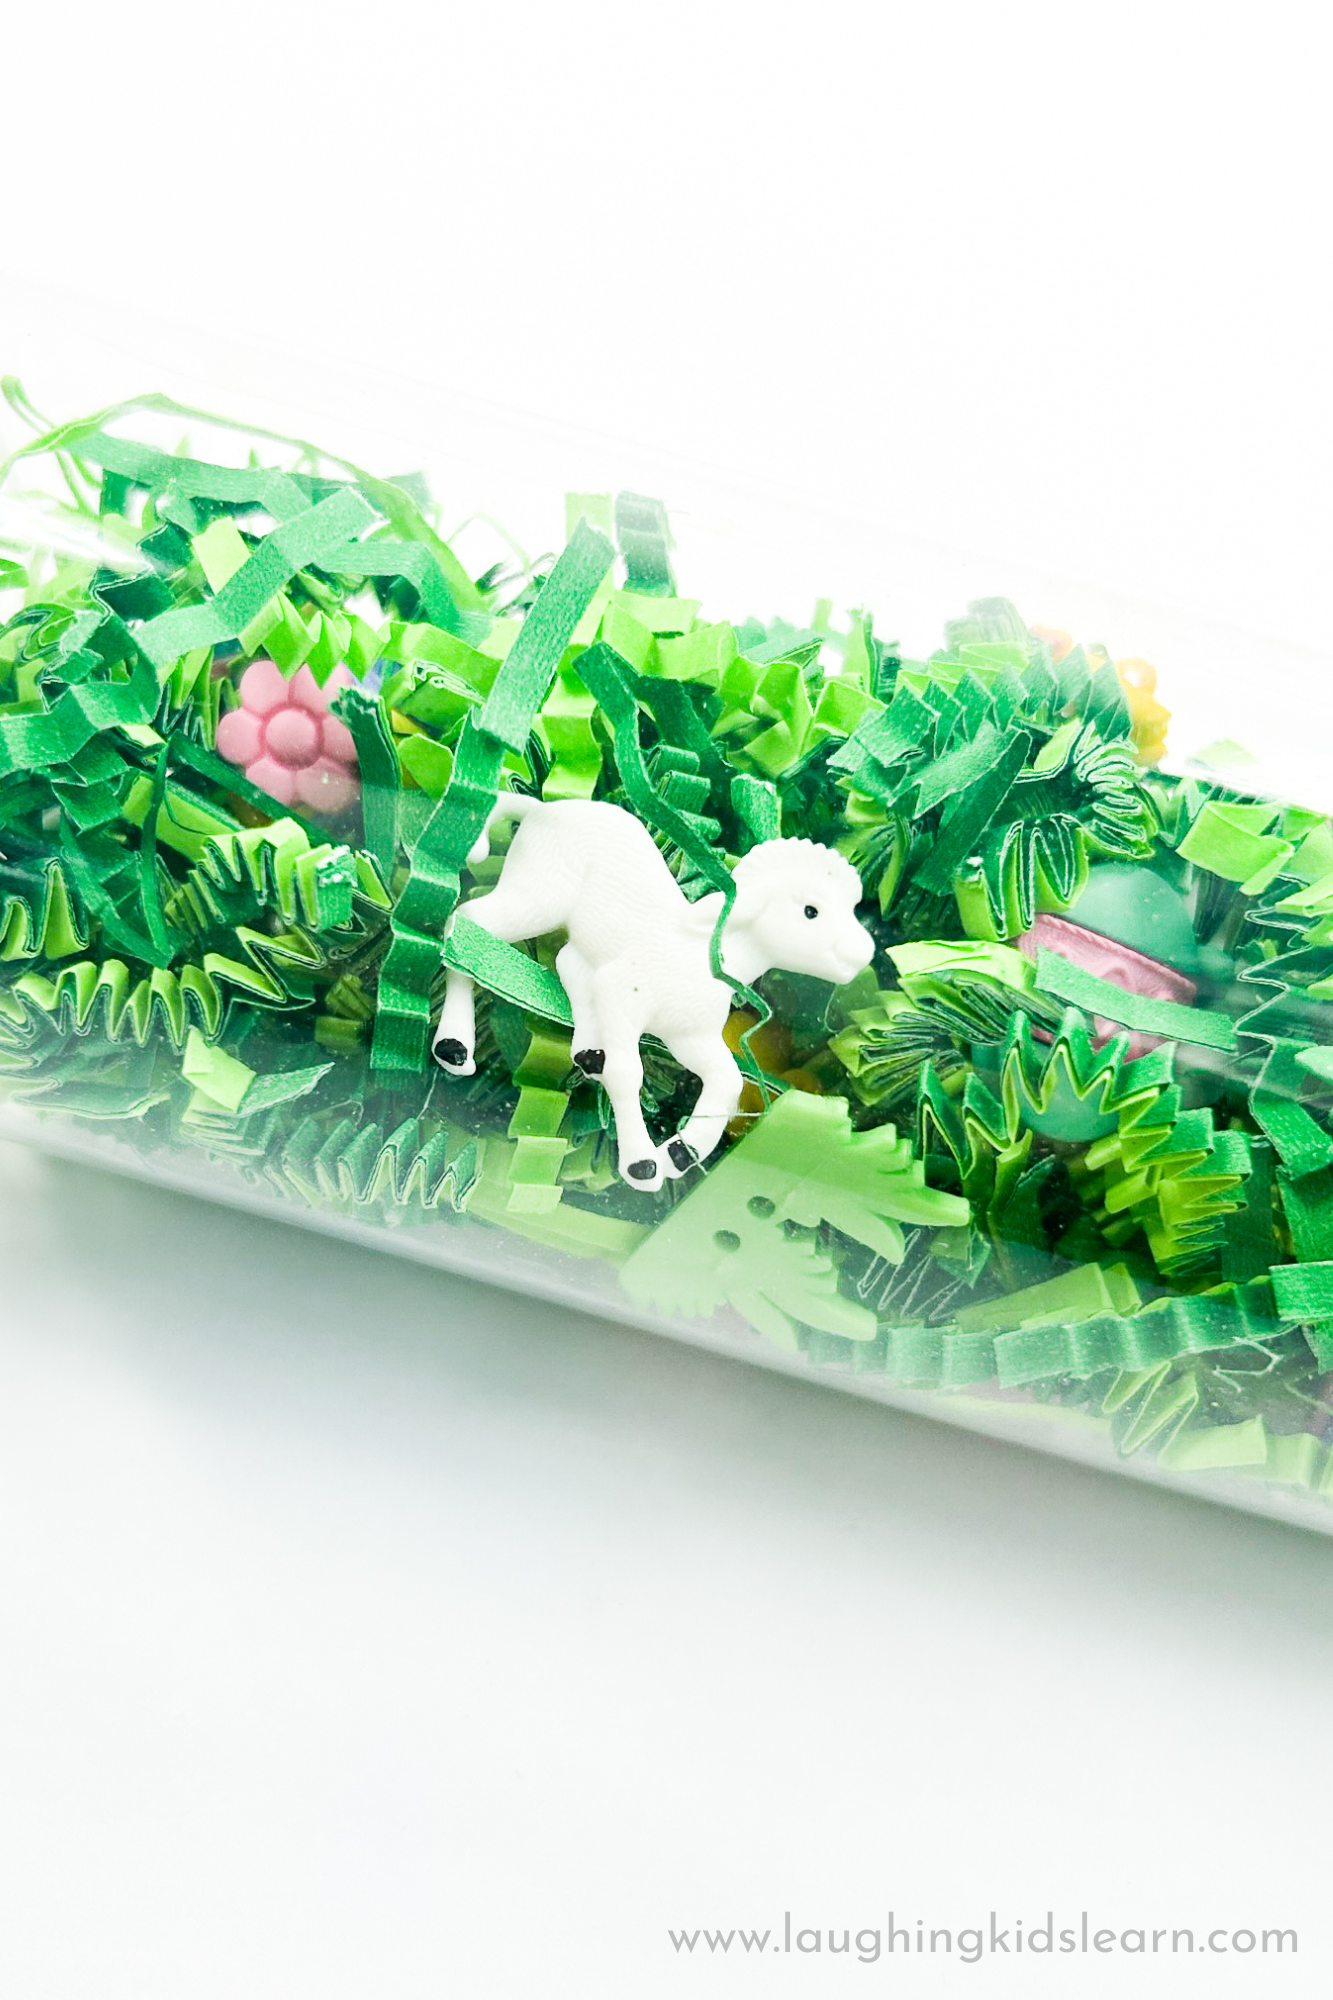
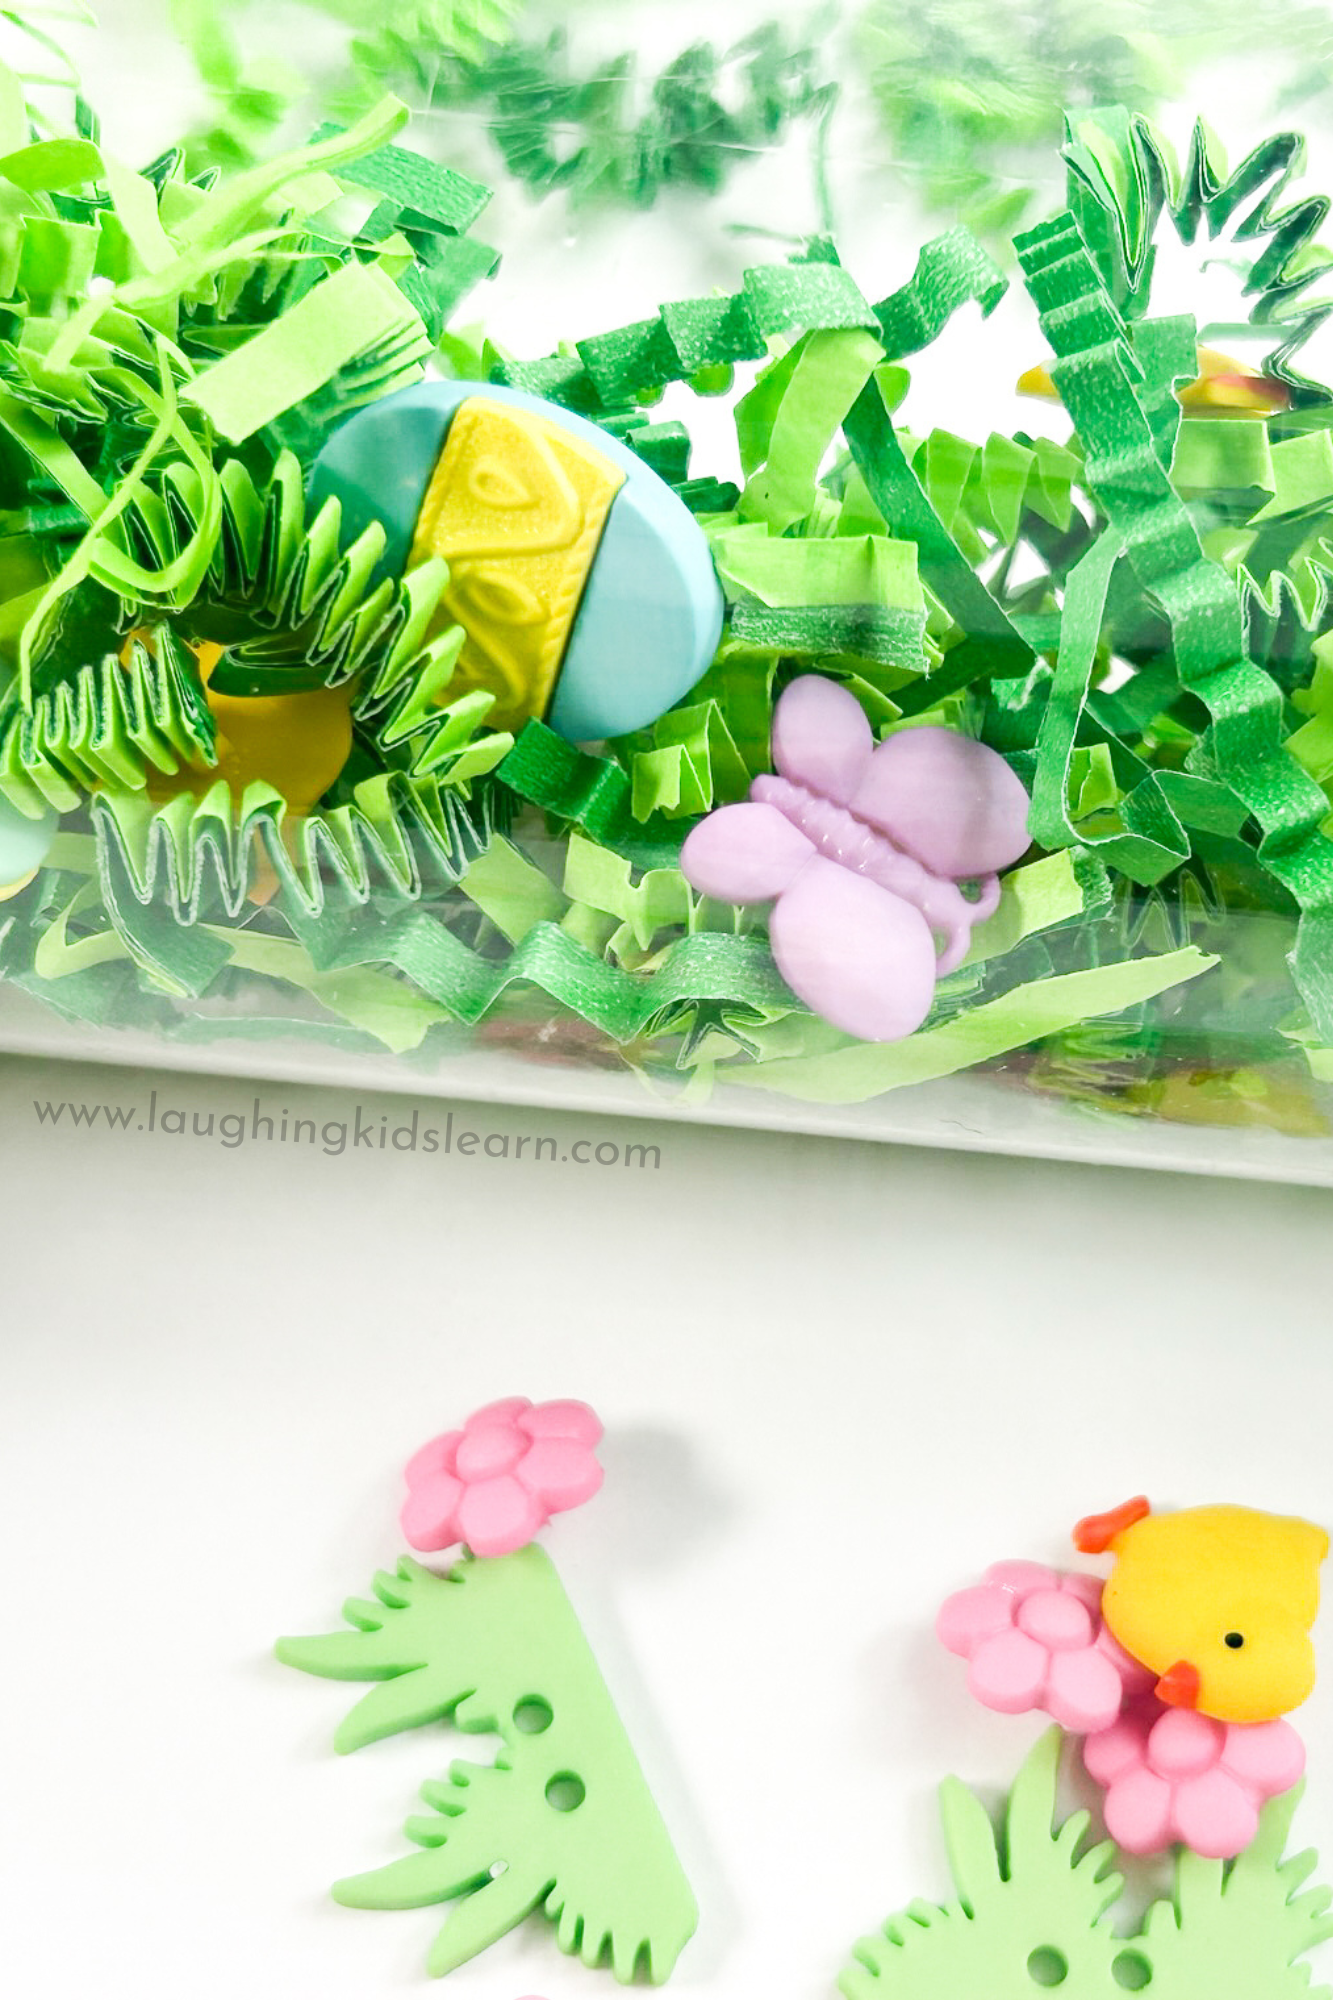
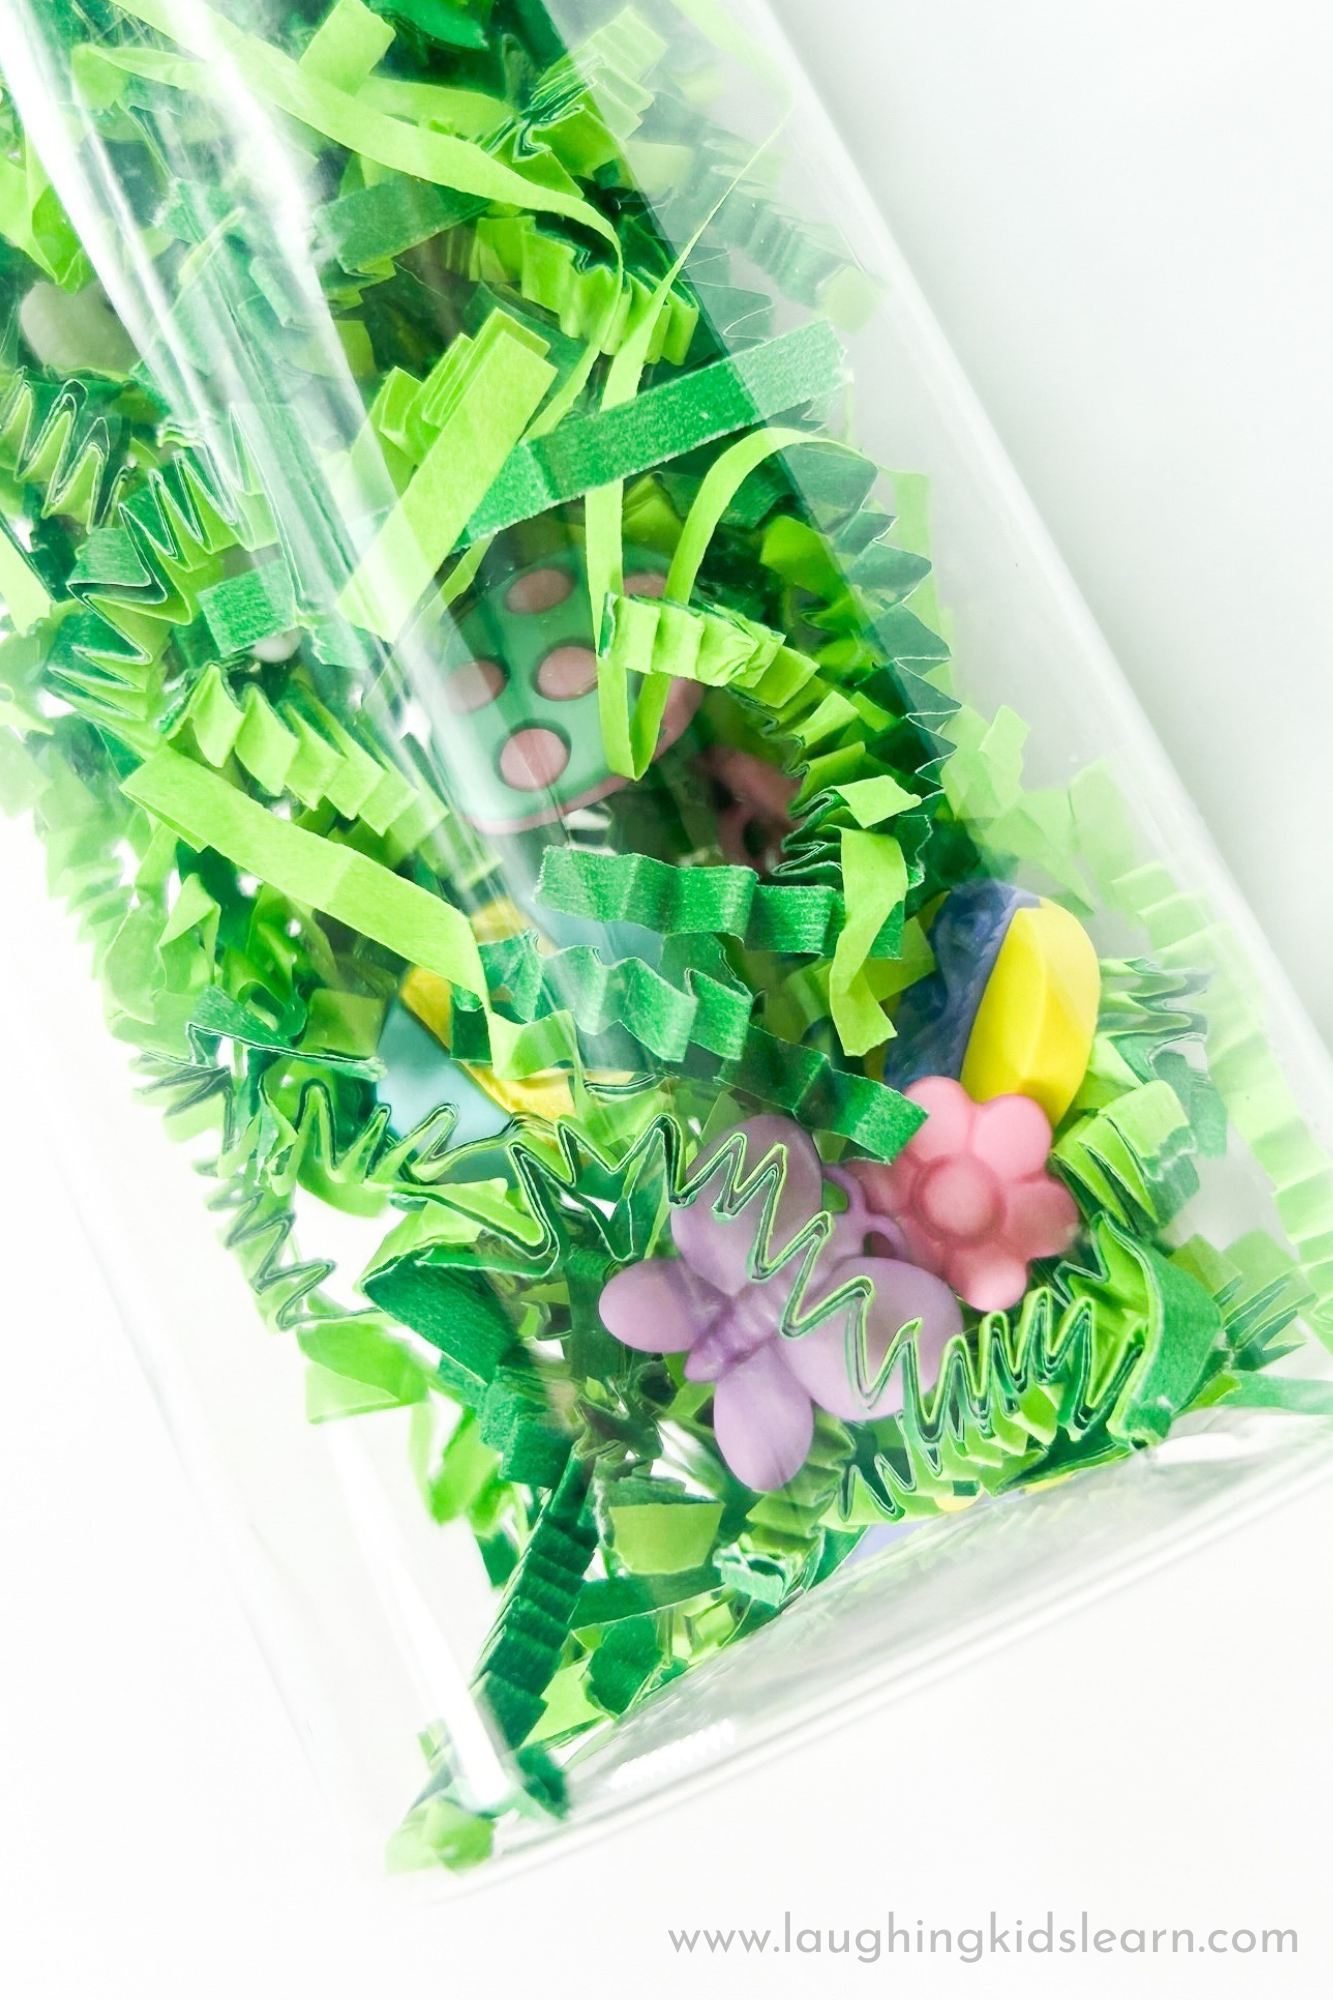
- Easter-themed charms or miniatures (bunnies, eggs, chicks)
- Rice, lentils, or any other small, dry material (optional)
- Begin by cutting the green paper into thin strips to resemble grass. Place these strips at the bottom of the clear plastic bottle.
- Add the Easter-themed charms or miniatures to the bottle, arranging them to create an enchanting scene on the “grass.”
- I didn’t do this, but I recommend you add a cup of rice or dry lentils to the bottle. Adjust the amount to your liking, however. It will be more interesting and engaging for your child if the dry ingredients can move around the green paper and charms.
- Use hot glue to secure the lid.
Benefits of children exploring sensory bottles with dry ingredients
Dry sensory bottles offer a unique twist to the traditional liquid-filled versions. There are also many advantages of introducing your child to the wonders of a dry Easter sensory bottle:
- Mess-Free Exploration: Unlike liquid-filled bottles, the dry version eliminates the risk of spills and mess, making it a hassle-free sensory experience for both parents and children.

- Long-lasting Entertainment: Dry sensory bottles are durable. As Easter comes and goes, you can simply reuse the bottle to make a whole new theme or just stick to your child’s interest. Ideal way to be providing sustained entertainment for your little one.
- Texture Variety: The combination of paper, plastic, and dry materials introduces different textures, enhancing your child’s tactile exploration and sensory awareness. They will love watching how the dry ingredients move around and are impacted by the paper.
- Easy to customise : Dry sensory bottles are highly customisable, allowing you to experiment with various materials and themes based on your child’s preferences and developmental needs.
- Portable Play: Sensory bottles in general are very portable and ideal way to have a play tool available when needed and out and about. The absence of liquid makes these bottles particularly travel-friendly, offering a convenient sensory tool and lightweight.
Once you’ve created your own DIY Easter sensory bottle with dry ingredients, it promises endless joy for your little explorer.
Whether exploring liquid or dry versions, sensory bottles remain an invaluable addition to your child’s playtime routine. It also builds growth and creating precious memories during the Easter season. You can find more great ideas here at Little Bins for Little Hands.
Don’t forget to check my USA sensory themed bottle too.
The possibilities to what you put in a sensory bottle is endless and exciting!
Embrace the magic of DIY sensory play this Easter season, and watch as your child’s eyes light up with wonder and excitement.
What themed sensory bottle would you like to make?
Share your comments below. I’d love to hear from you.
Please Leave a Comment: