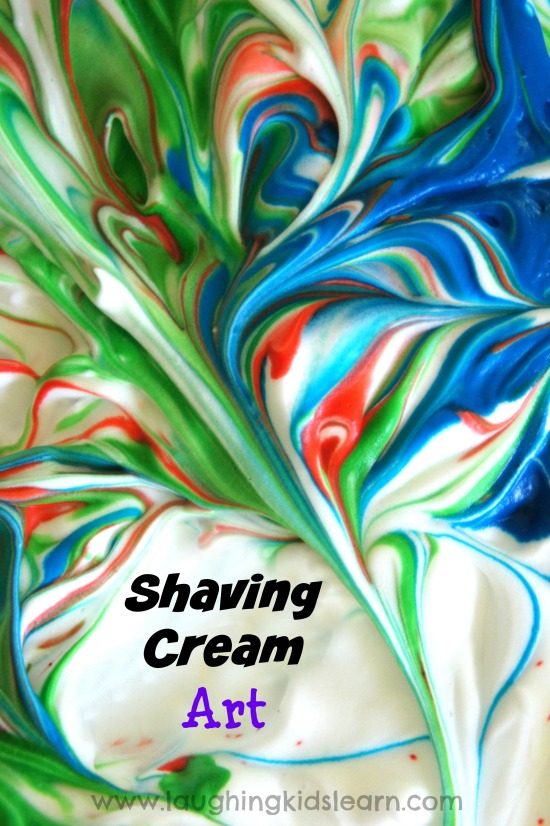
Here is a fun shaving cream art activity that your children will love to play with. It doesn’t require many materials and is very quick and easy to set up. Before you know it your child will have created beautiful decorative art pieces that won’t find themselves in the recycling bin. 😉
Children love the sensory experience of sinking their fingers in soft shaving cream. It’s wonderful (and cheap to buy). It can also be used to create art pieces quite simply.
Recommended age: 4 years +
(All my activities require active supervision)
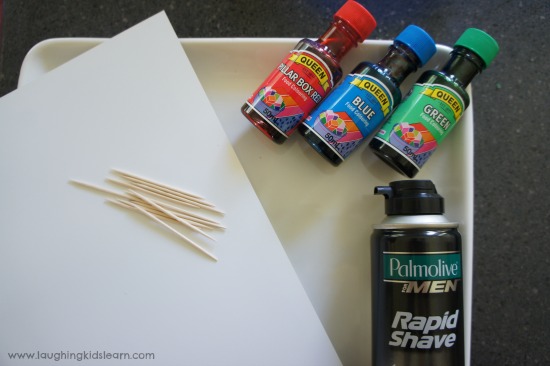
You will need –
- Shaving cream from a can (cheaper the better)
- Plate or tray
- Food colouring or paint
- Toothpick
- Paper
- Spoon
Simply spray the shaving cream onto the plate. I would recommend children wear an apron when doing this activity because it does fall into the messy play category.
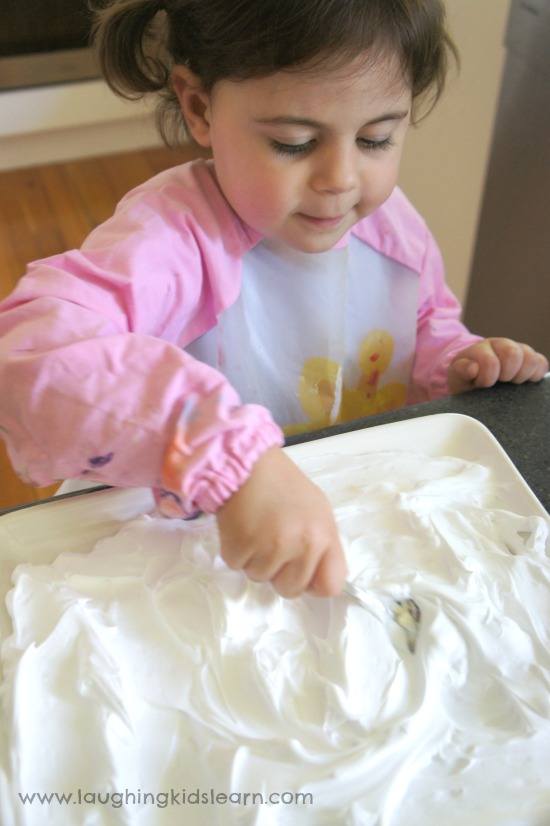
Possum (aged 3 years) loved smoothing out the shaving cream with the back of a spoon.
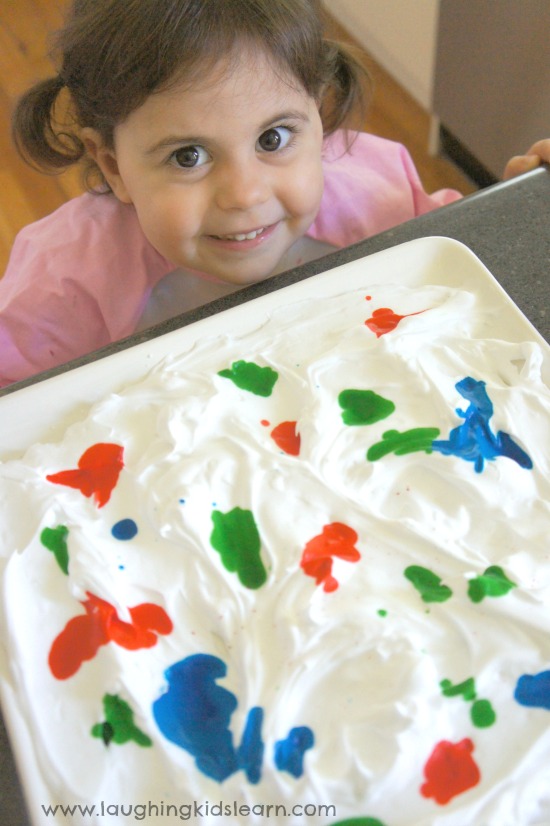 Next we went out adding drops of food colouring to the shaving cream. We attempted to count the drops and talked lots about the coloured we were using.
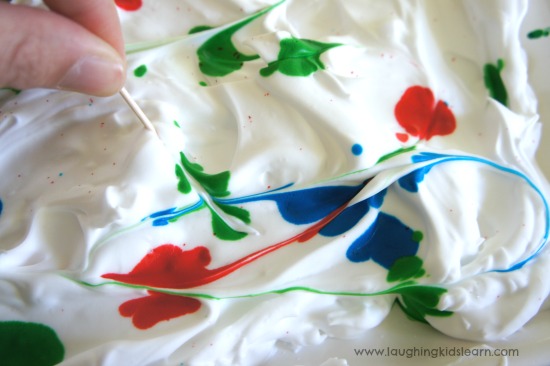
Using a toothpick we mixed the food colouring through the shaving cream. We loved watching the coloured spread throughout the shaving cream and mix together. What great fun!
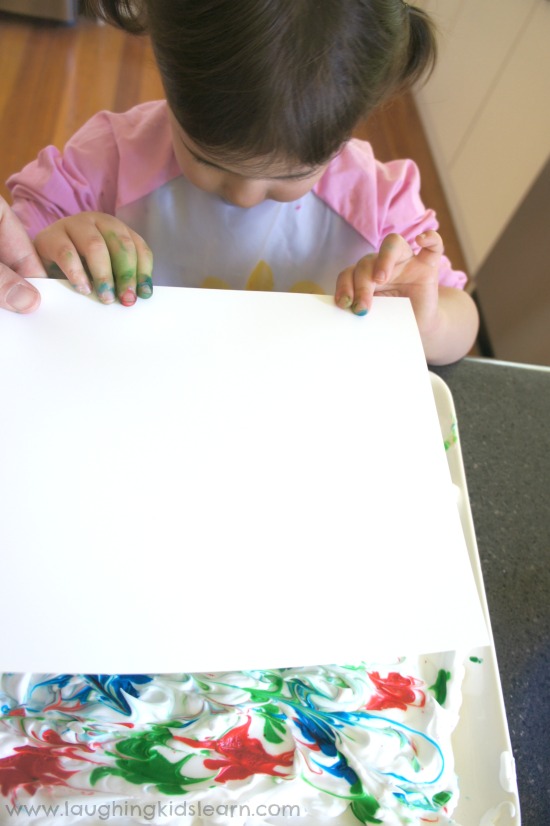
Next step was to simply (but very carefully) place a white sheet of paper over the shaving cream with the mixed food colouring. We used gentle hands to press the paper down and ensure there was good contact with the paper and the shaving cream.
 Once we were pleased with the coverage we carefully pulled up the white paper to reveal the shaving cream and the gorgeous swirls of food colouring.
Using the back of the spoon,which we used previously, scrape away the excess shaving cream to reveal your art piece. The food colouring stains the paper to make a beautiful marbled looked.
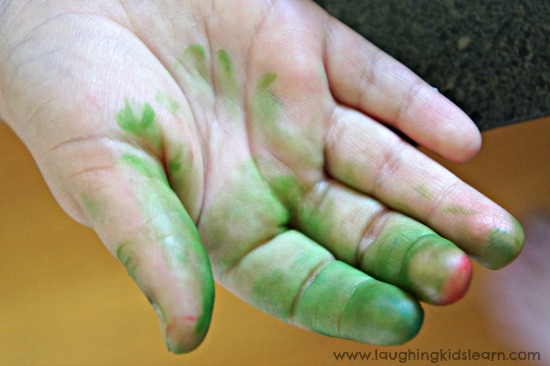
Okay so we have a slight confession, the food colouring from this activity did stain our hands, however it was great fun and the staining was gone after a good scrub. If I was to this activity again I would choose to use paints instead because that would work just the same and be less likely to stain. So tell me…
Does the possibility of stained hands put you off doing an activity with your kids? 🙂
Follow Kate @ LaughingKidsLearn’s board Laughing Kids Learn on Pinterest.
She looks like she had SO much fun doing this!
Thank you so kindly Cathy. She really did, especially that she got to walk away with decorated fingers. LOL
As a preschool teacher we use this art activity several times during the year. I find the easiest method to remove the shave cream at the end of the project is to use a plastic spatula/turner with a straight edge. It only takes a few swipes. Key is to rub the paper onto the shave cream quickly and lift it as soon as possible so the moisture doesn’t soak into the paper, which might cause it to tear easily while removing he shave cream. For Easter, we draw an egg shape on the back side of the paper and when the design is dry we cut it out. I have also discovered that the “neon” food coloring produces some wonderful results.
Thank you ever so much!!!! That is really wonderful advice. I’m now on the hunt for some of that neon food colouring. 🙂
I tried this with my nonverbal classes of Kindergarten children and they had a blast! This was the perfect one-day project and my classroom smells great!
Ellen that’s wonderful news! Thank you for making my day. Fingers crossed I can interest you with more of my ideas. 🙂