I have such great memories of weaving paper placemats when I was young at school. Making them again for this blog post reminded me how fabulous they are as an indoor activity and how few materials it requires. It is also great for developing fine motor skills and creativity.
Age – 3+
(This activity is open to varying degrees of difficulty)
How to make paper weaving placemats
You will need
- 2 x A3 or A4 paper in different colours
- Scissors
- Ruler
- Pencil
- Laminator and sheets (optional)
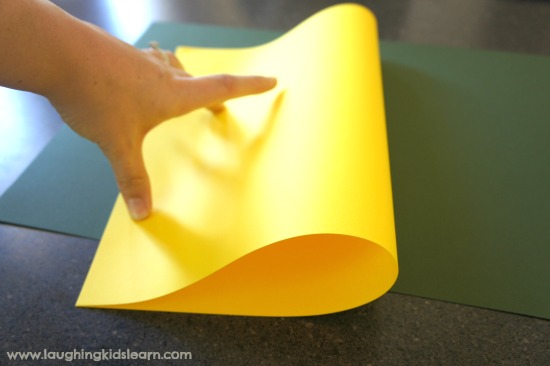
Begin by evenly folding one piece of paper in half.
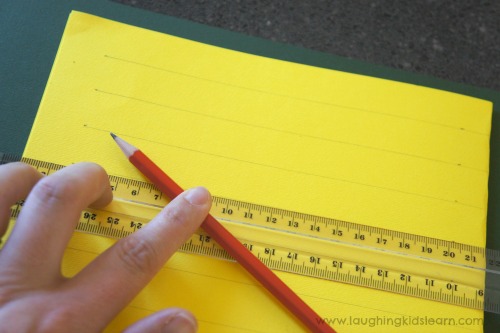
This is a great opportunity for your child to develop some measuring skills and learning the importance of accuracy. Instruct older children making these paper placemats to measure and mark lines that will create 2 cm strips. This is a great way to have them learn a formal approach to measuring.
All that too challenging for your little one?
If you have a child not ready for this stage then feel free to either take over this step or have them conduct the cutting in a less structured and more free hand way, as I found being performed here.
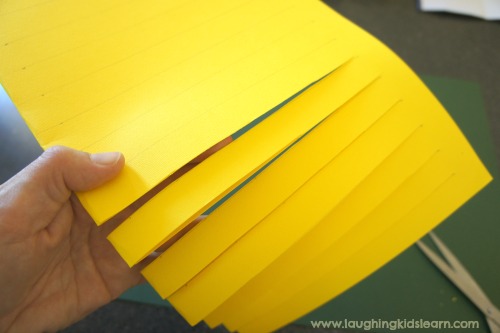
Begin cutting along the lines but importantly from the folded edge (see above).
Once you have done this, open it up. It will look like a piece of paper with a frame and sliced lines through it.
Step 4.
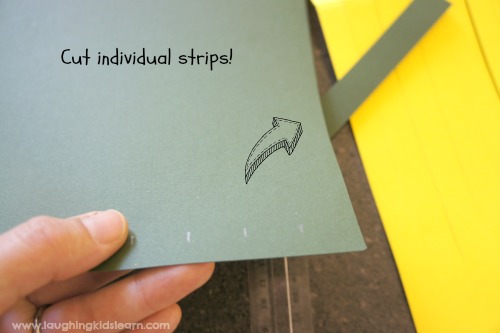
Next, using the other coloured piece of paper, simply cut lots of 2 cm paper strips.
Again, your child may wish to simply attempt to make similar sized strips of paper, without measuring.
Step 5.
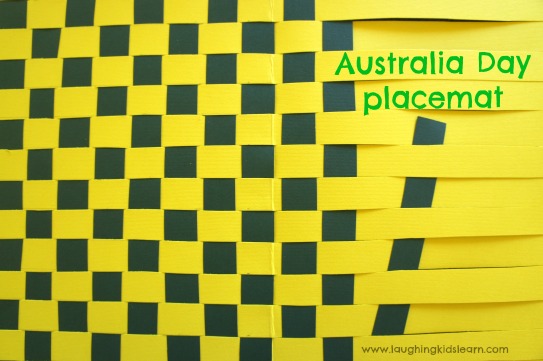
And now the weaving process begins. Those individual strips of paper can then be woven through the first paper we started with and before you know it you have some amazing paper placemats, which you can laminate for longevity.
_______________________________
This type of craft activity is fabulous for developing fine motor skills in children. It can also provide opportunities for children to use authentic tools for measuring. Learning aside, these paper placemats would jazz up any special birthday party or celebration. The paper placemat you see above we used for Australia Day.
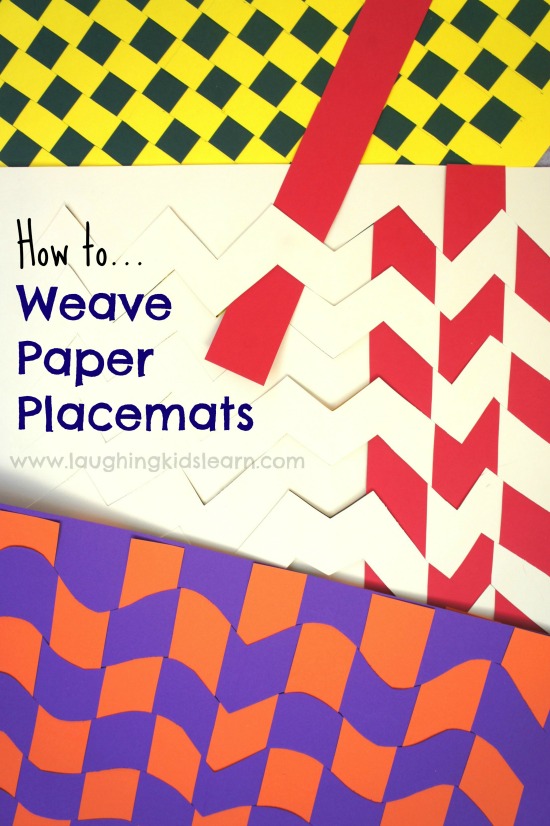
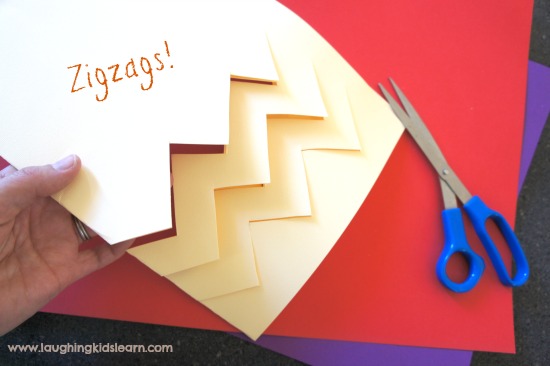
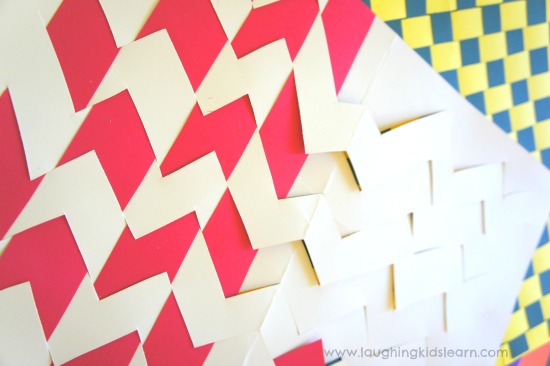
Of course this type of activity can be made more challenging by cutting zigzags into the first piece of paper and again cutting simple strips in the other paper for weaving (see photo).
Weaving through the zigzags increases its difficulty and puts those fine motor skills to the test.
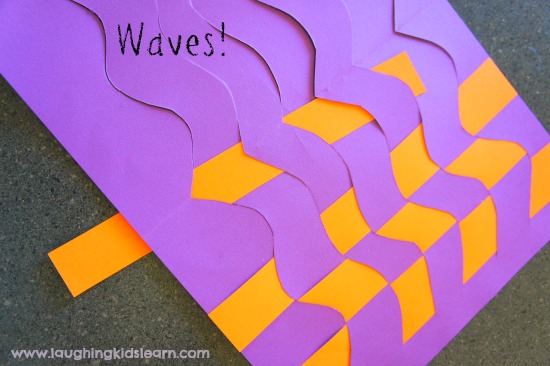
Want another idea? How about cutting the first piece of paper into waves?
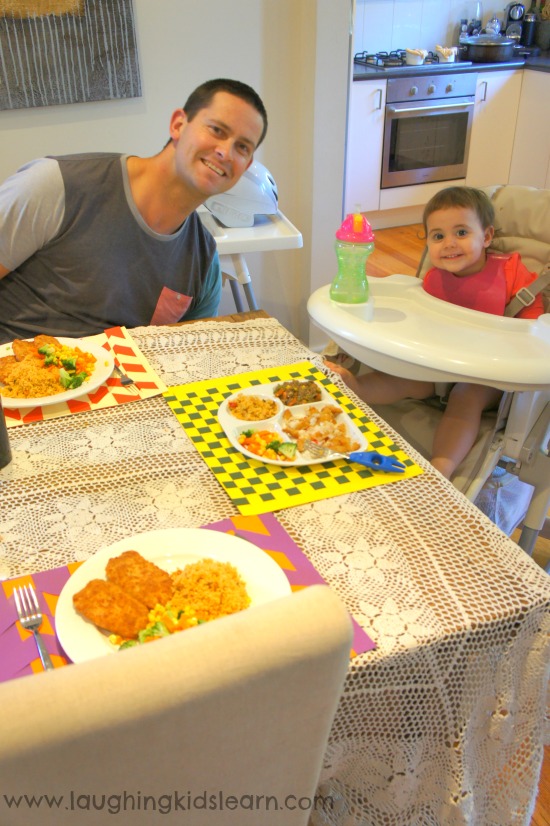
However your child goes about making these paper placemats, once they are complete they will certainly be a talking point at the table. Here is another example. Personally, I found these paper placemats were just as much fun as I had remembered. Of course you may decide to laminate each piece to ensure they survive any spills and spots created over dinner.
Did you ever make paper placemats as a child?
More ideas that will interest you


Wow, I’ve never seen these before, they look really great! And fun 🙂
Oh I’m so pleased I could introduce you to these Kelly. 🙂
These are fabulous Kate!! I LOVE the zig zag and wavy lines!!! We’re going to have to try this!
Thanks Bekka! They turned out really well. Hubby said he was looking forward to the blog post so he could make some himself! LOL
I love all the different mat weaving patterns! What cool mats!
It was so fun JDaniel4’s Mom. Thank you so kindly for your comment. 🙂
Love the wavy & zig-zag ones! Also… your site looks wonderful!!
Thank you so kindly lovely Karyn. I hope all is going well with you and your new little one.
I never did this as a kid! It looks like great fun, although Mr4 will want to cut out the strips, so I can’t guarantee mine will look as good as your do! Thanks for the fun activity 🙂
Thanks for your comment lovely Jo. If you felt comfortable with Mr4 using starter plastic scissors and cutting strips then it will still work out. The strips don’t have to have exact measurements. 🙂
Love the zig-zag and the waves. So cute!
Thanks Marie. They turned out really well. 🙂
I used to love making these and making everyone use them too hehe! The curvy lines are such a fantastic idea and I think my girls would really love to give these a try. Am so in love with that gorgeous pic of Daddy and daughter…too sweet!!
Thank you Jodie. I adore that picture too. LOL
I remember making these as a child, but ours were never wavy. Cool! Pinned it 🙂
I love making placemats because of all the possiblities!! And the way you explained it makes sooo much simpler..thank you!
Thank you so kindly Dalia! 🙂
This really helps .I have done it before but not as cool as the wavy ones so as the zigzag.love your picture.thanks slot
This really helps .I have done it before but not as cool as the wavy ones so as the zigzag.love your picture.thanks alot
You’re so welcome Norah.
Cute! Will have to make some placemats for my 2 year old granddaughter!