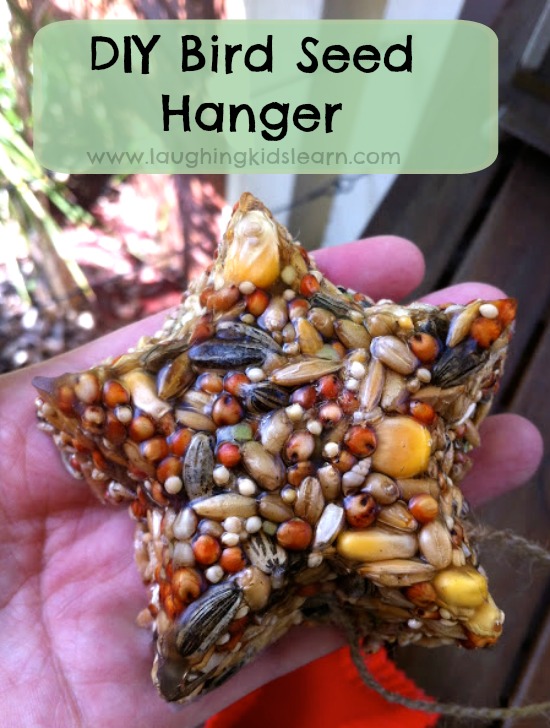
These bird seed feeders are just so beautiful and look amazing in any garden. They are so easy to make and kids get such a thrill as new birds stop by for a bite. Here are the instructions on how to make your own DIY bird seed feeder or hanger.

How to make a DIY bird seed hanger
These bird seed feeders can be hung anywhere in the yard. It is a good idea to check what birds are commonly sighted in your area and know what sort of seed best interests them.
Begin by pouring 200ml of boiling water into a pot.
Add 100g of edible gelatine to the water.
Stir the gelatine until it is completely dissolved.
Set it aside to cool, however, remember that gelatine sets as it cools so if it becomes too hard then just simply warm it up again.
Use any brand of bird seed you like.
I would suggest considering what birds are quite local to your area.
Stir in the gelatine liquid with the seed.
NOW GET READY TO MOVE QUICKLY!
The mixture will start setting.
Find some cooking molds that will form the shape of your feeder.
Cut 20 cm lengths of string or twine and knot the end.
This is a good measuring activity for children.
Press the seed into the mold but only fill it half way.
VERY IMPORTANT – Be sure to really press down the seed mixture, especially into the corners.
Place the knotted end of the string in the middle of the seed with the loop
outside the mold.
Fill the mold completely.
Remember to really press down that mixture and get rid of all the gaps.
A job well done!
If you feel the mixture is not going to set well enough then fee free to spoon some
freshly made gelatine mixture over the top of each mold.
Put in the fridge until set. This will be after a few hours.
Once set, pop them out of their mold.
Hanging ready for some new feathered friends to stop by and have a bite to eat.
___________________
Thank you for taking the time to read this post.
Be sure to follow us on Pinterest and Facebook.
Kate


Fanástico, adorei e vou fazer aqui no Brasil com meu filho de um ano e quatro meses!